1. Purpose
This article explains how to share files and folders using Microsoft OneDrive. OneDrive allows you to securely share documents with others using email invitations or sharing links.
2. Scope
This guide applies to:
-
OneDrive Web (Recommended)
-
Windows and macOS devices
-
Queensford College Microsoft 365 accounts
3. Prerequisites
Before sharing files, ensure you have:
-
Active Queensford College Microsoft 365 account
-
Access to OneDrive
-
File or folder uploaded to OneDrive
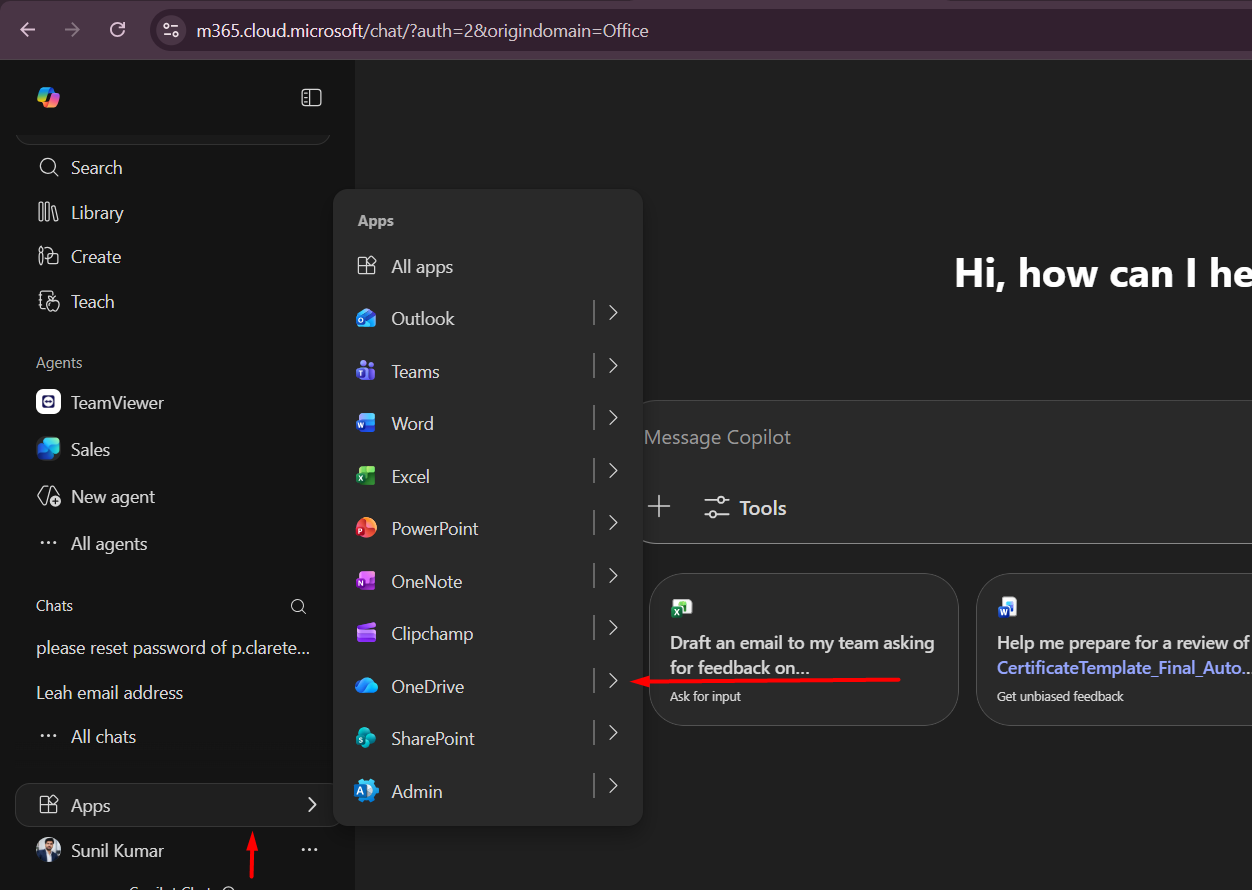
Access OneDrive:
https://www.office.com
→ Click OneDrive
4. Method 1: Share Files Using Email
Step 1: Open OneDrive
-
Go to https://www.office.com
-
Sign in using your Queensford College account
-
Click OneDrive
-
Locate the file or folder you want to share
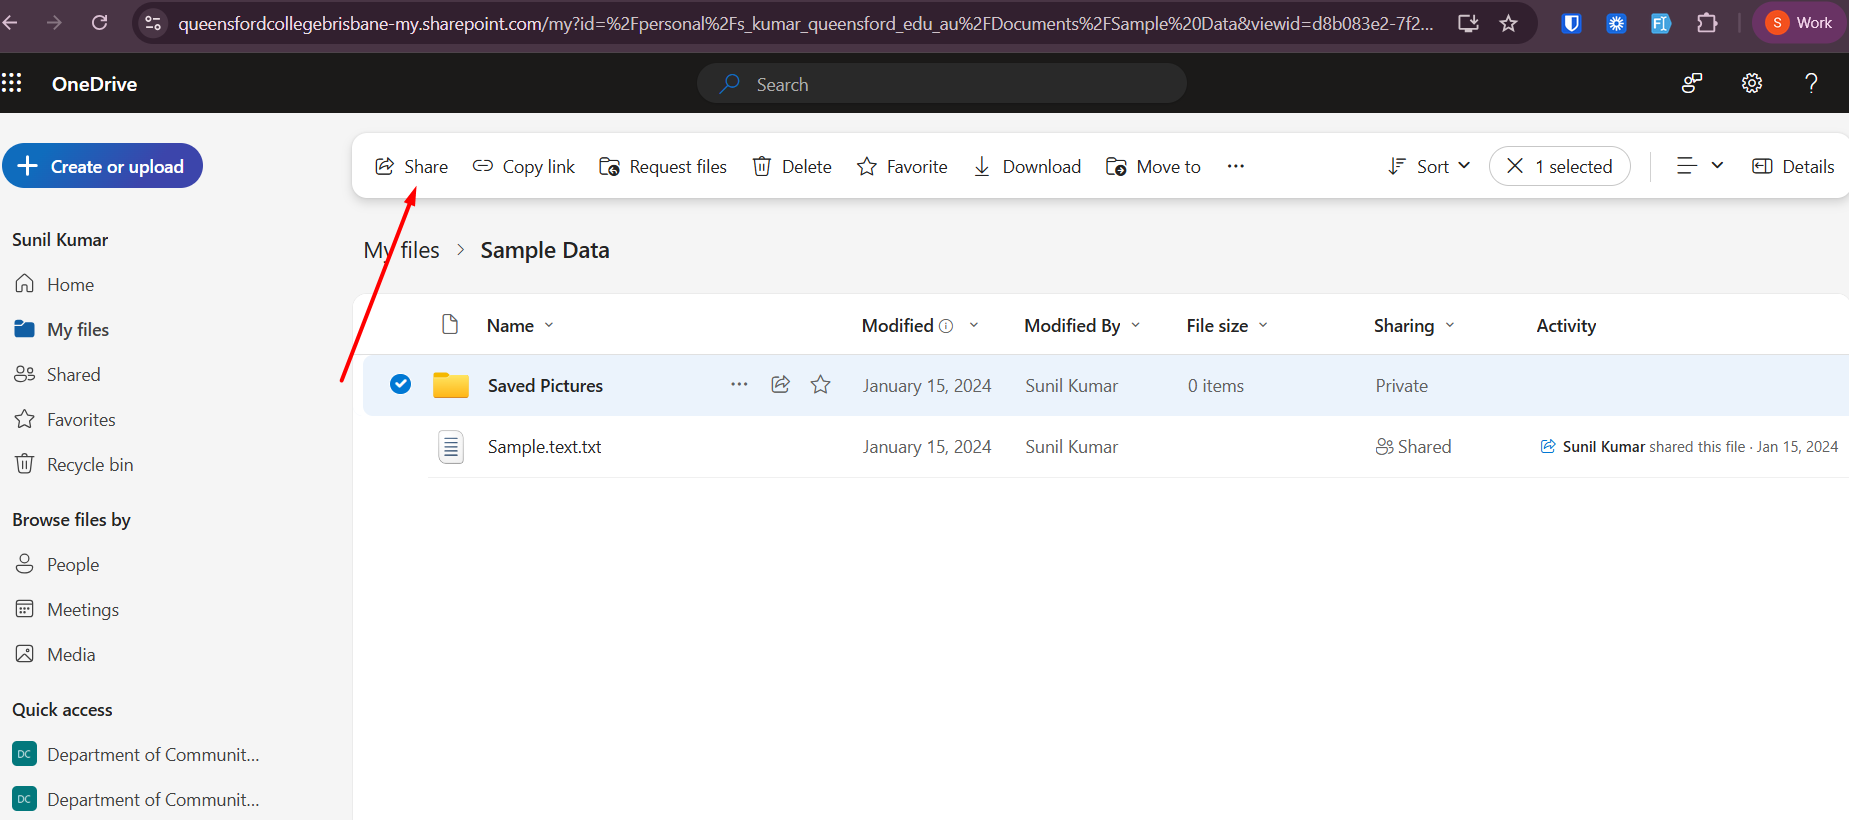
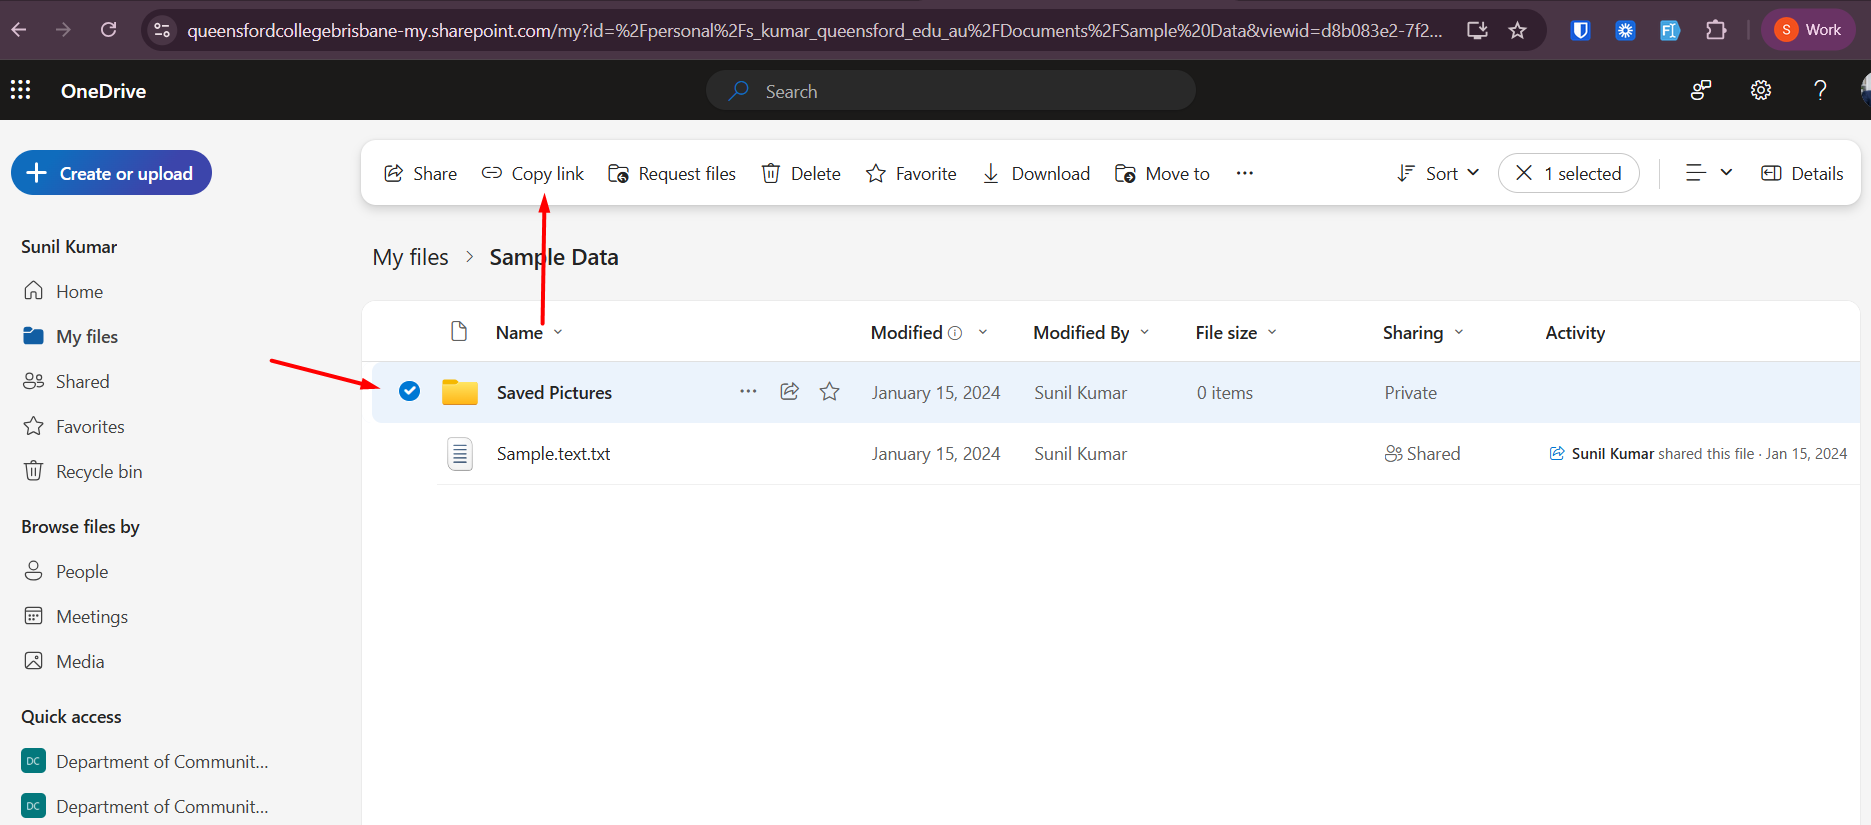
Step 2: Select the File
-
Click the checkbox next to the file
-
Click Share from the top menu

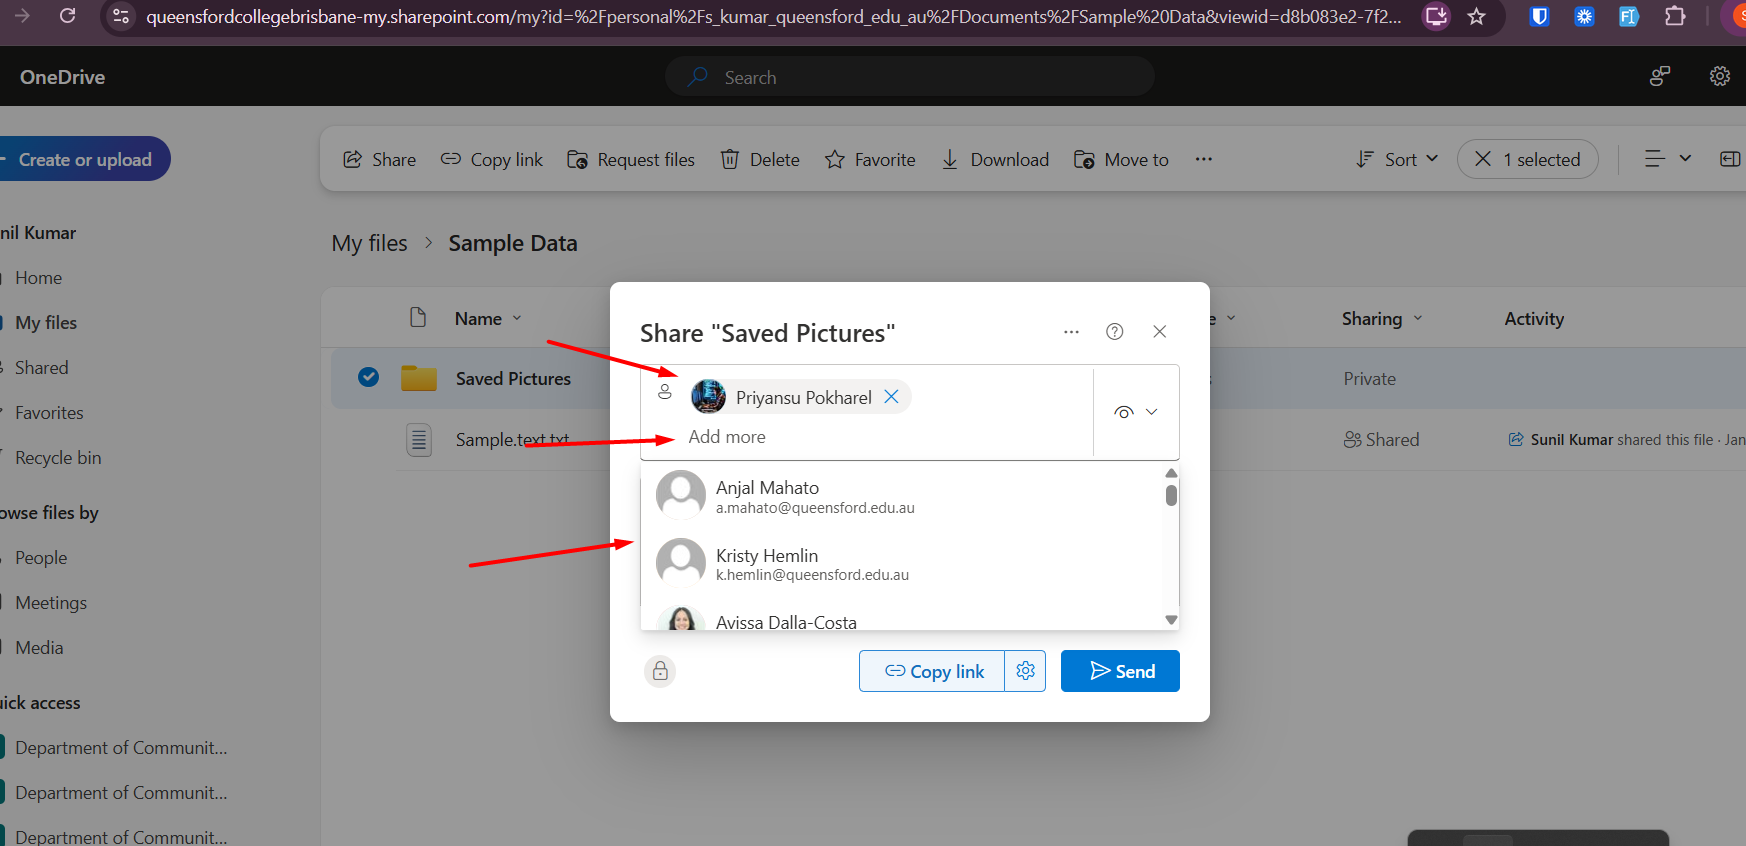
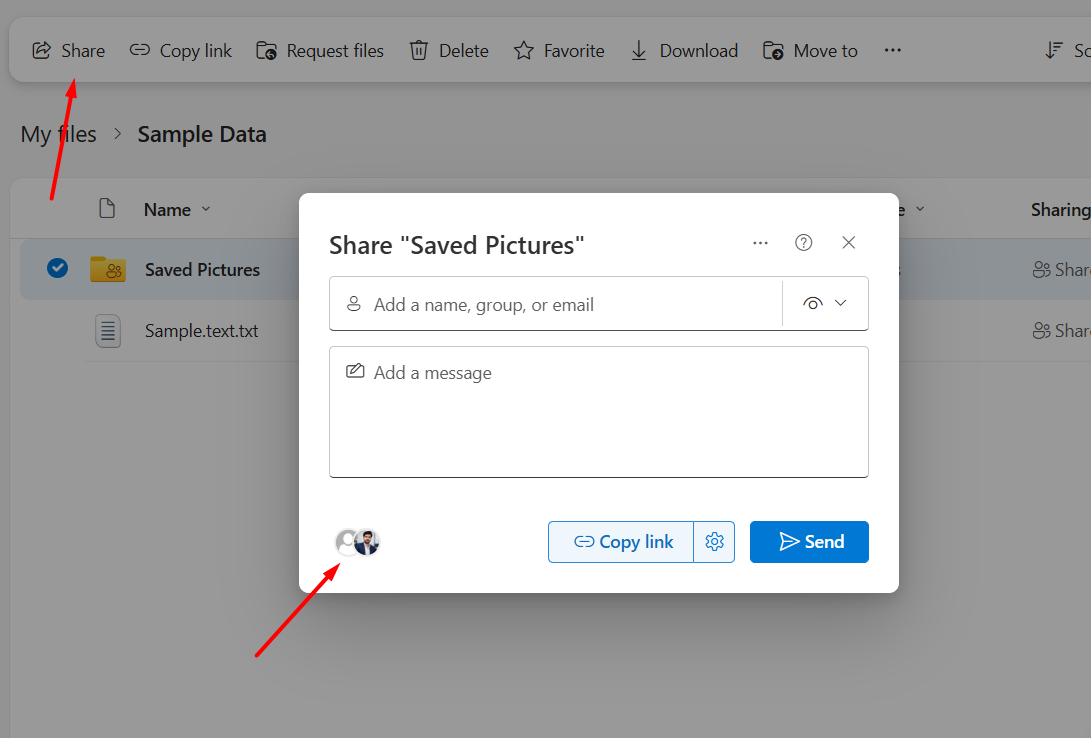
Step 3: Enter Recipient Email
-
Enter the recipient’s email address
-
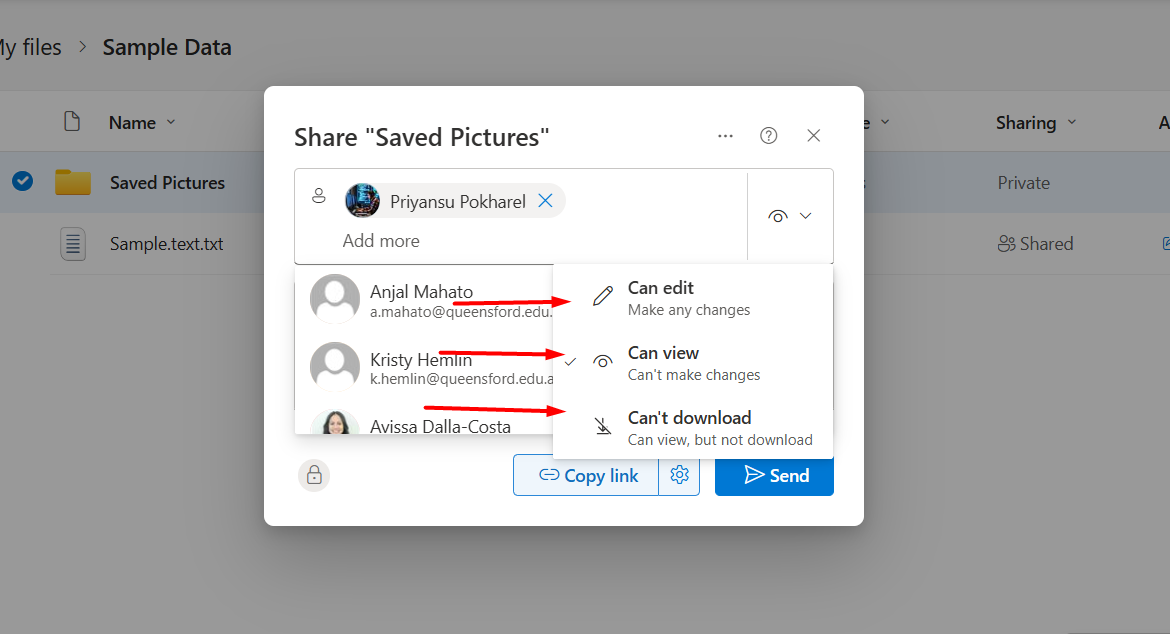
Choose permission level:
-
Can edit – recipient can modify file
-
Can view – recipient can only view file
-
-
Click Send
5. Method 2: Share Files Using Link
Step 1: Copy Sharing Link
-
Select the file
-
Click Share
-
Click Copy link
-
Click Copy
Step 2: Send the Link
You can paste the link into:
-
Email
-
Microsoft Teams
-
Moodle
-
Chat or messaging systems
6. Sharing Permission Levels
| Permission | Description |
|---|---|
| Can view | User can only view the file |
| Can edit | User can edit the file |
| Specific people | Only selected users can access |
| Anyone with link | Anyone with link can access (if enabled) |
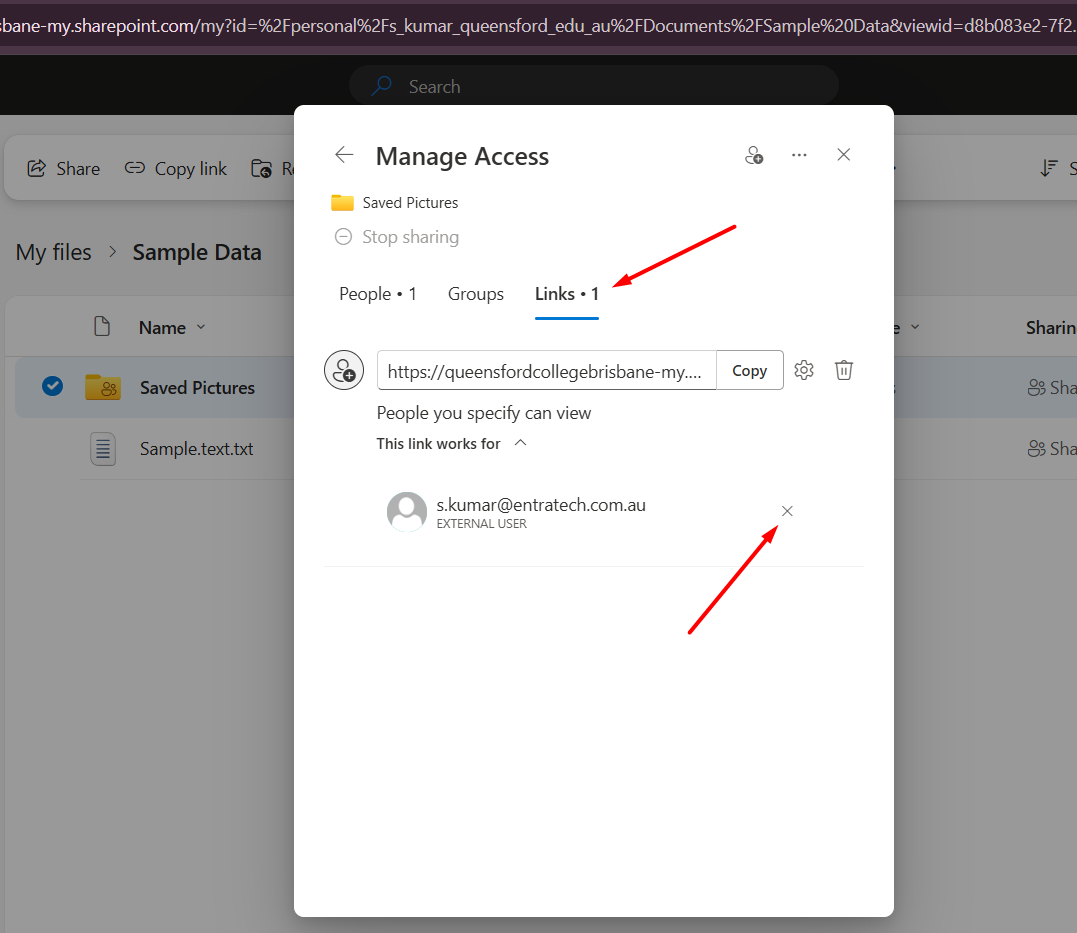
7. Stop or Remove Access
To stop sharing:
-
Open OneDrive
-
Select the file
-
Click Share
-
Click Manage access
-
Remove users or disable link
8. Expected Outcome
The recipient will receive access to the shared file or folder and can view or edit based on permissions assigned.