This guide outlines the steps trainers should follow to mark and provide feedback on student assessments in Moodle.
1. Access the Course
-
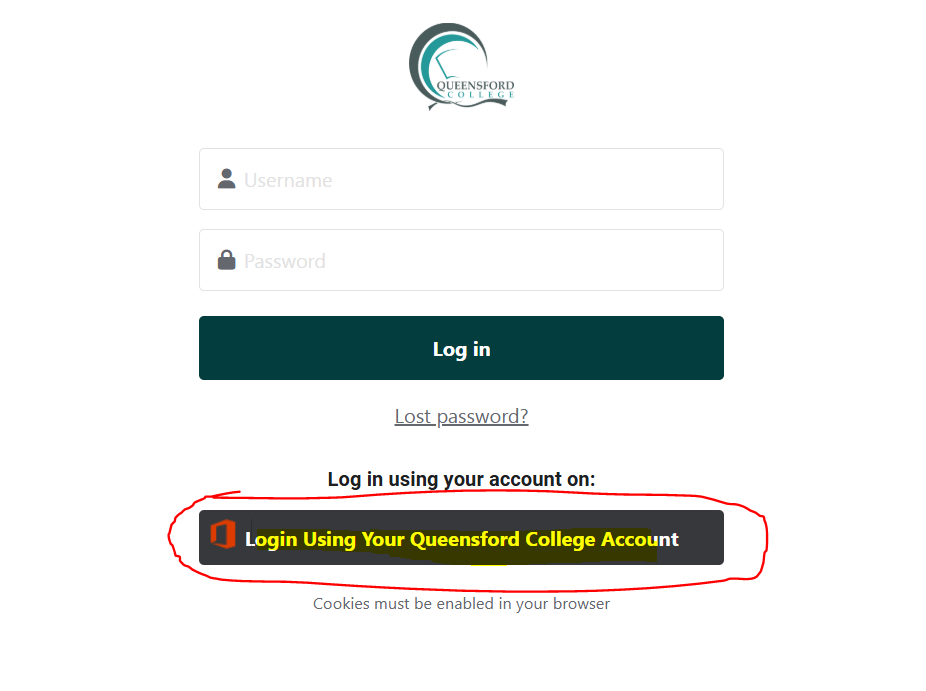
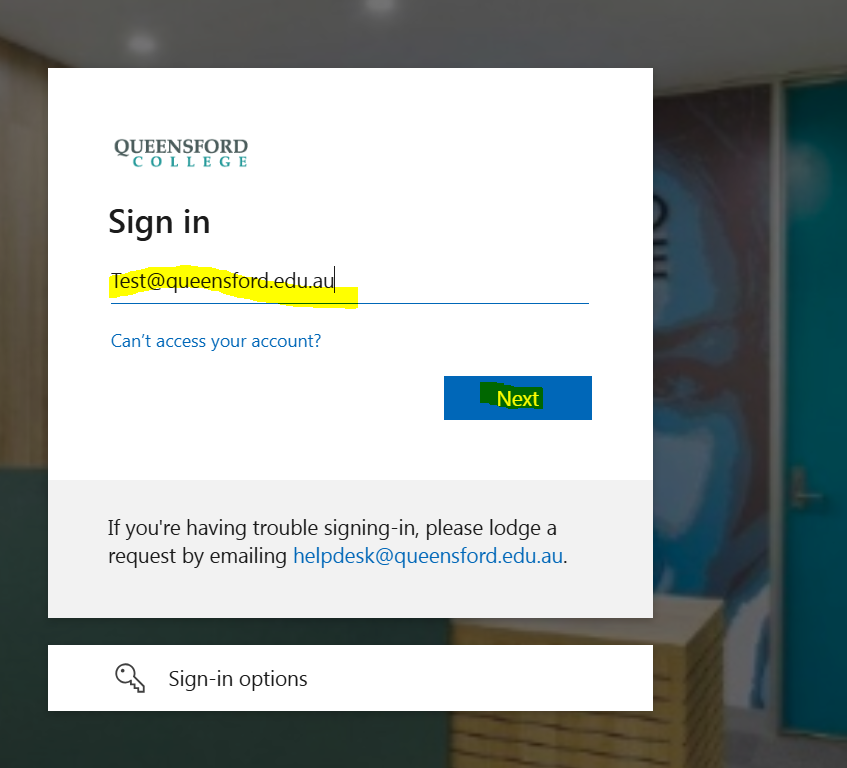
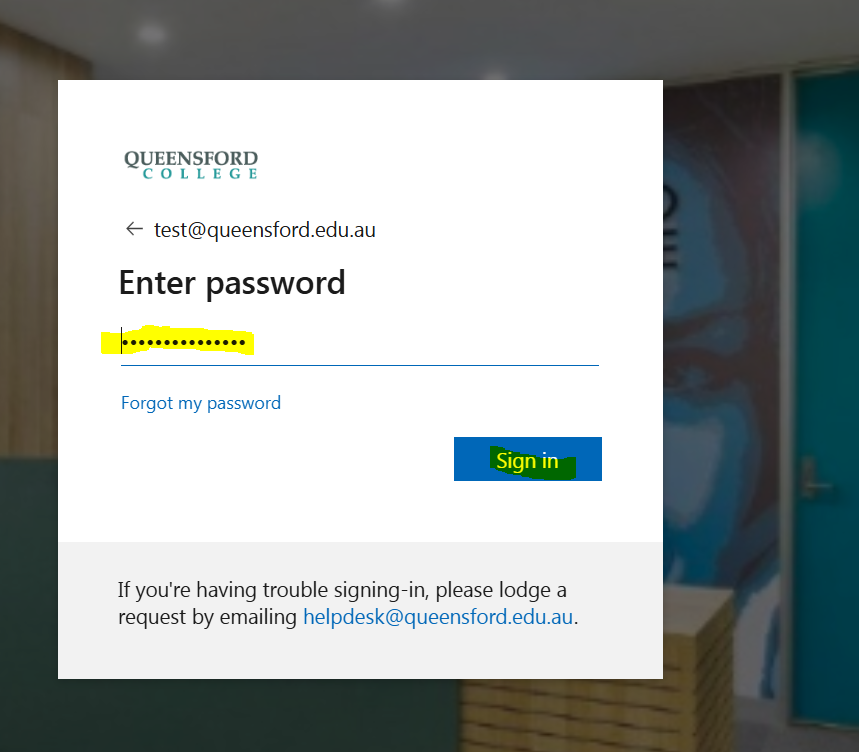
Log in to Moodle with your trainer credentials.

2. Navigate to Dashboard.
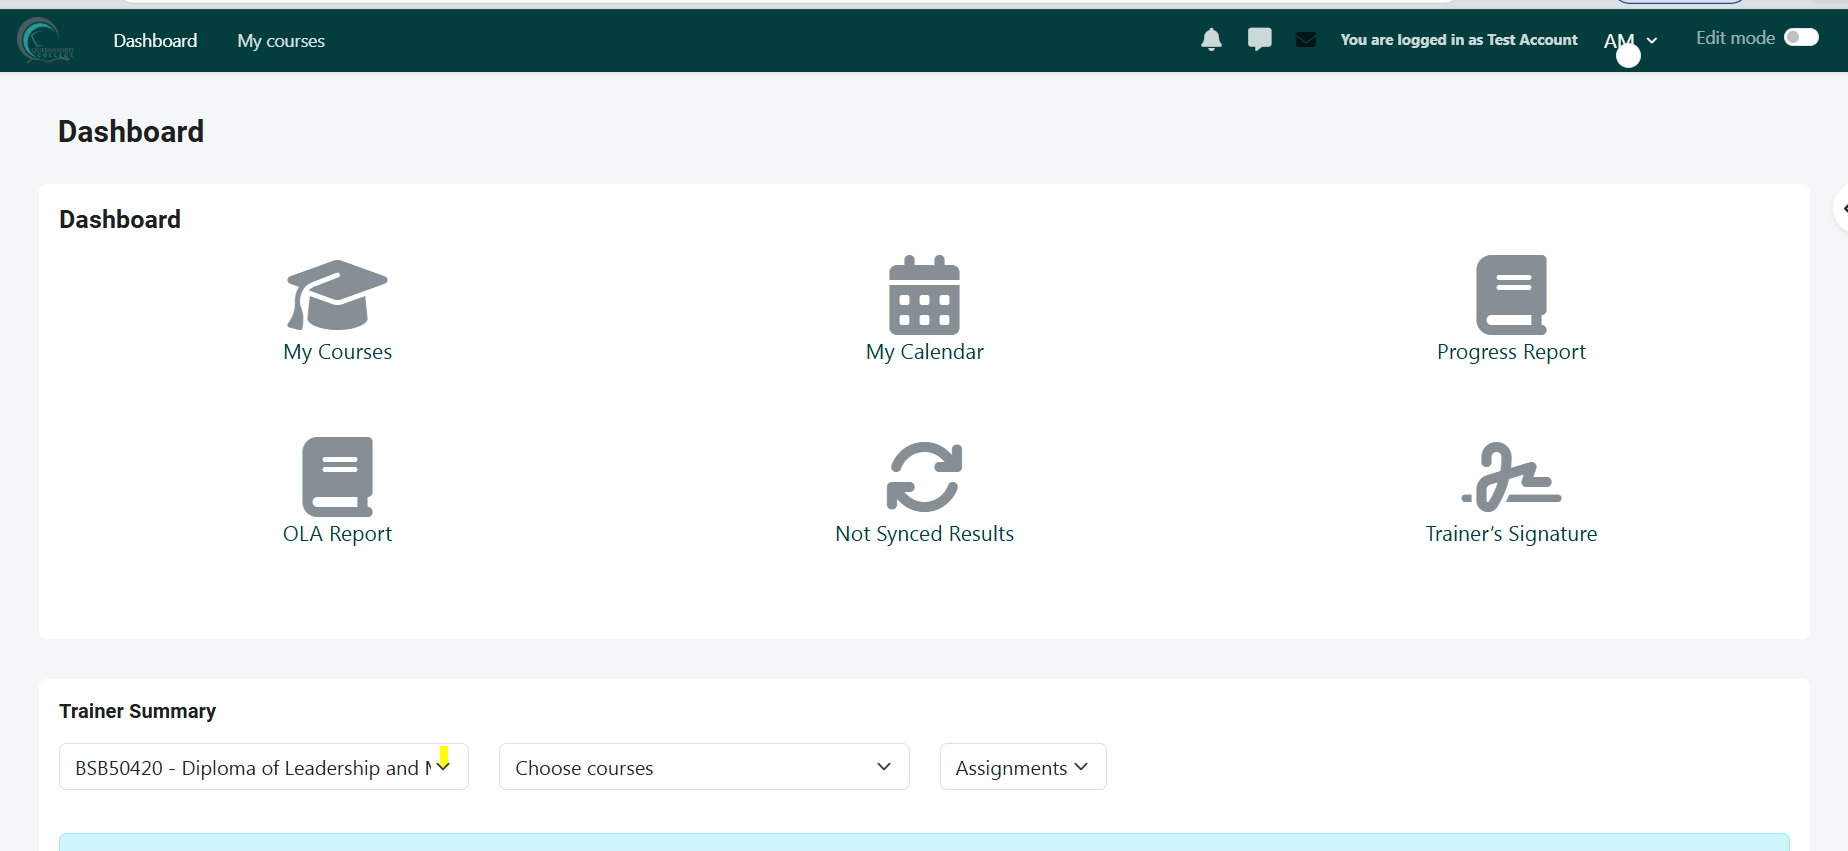
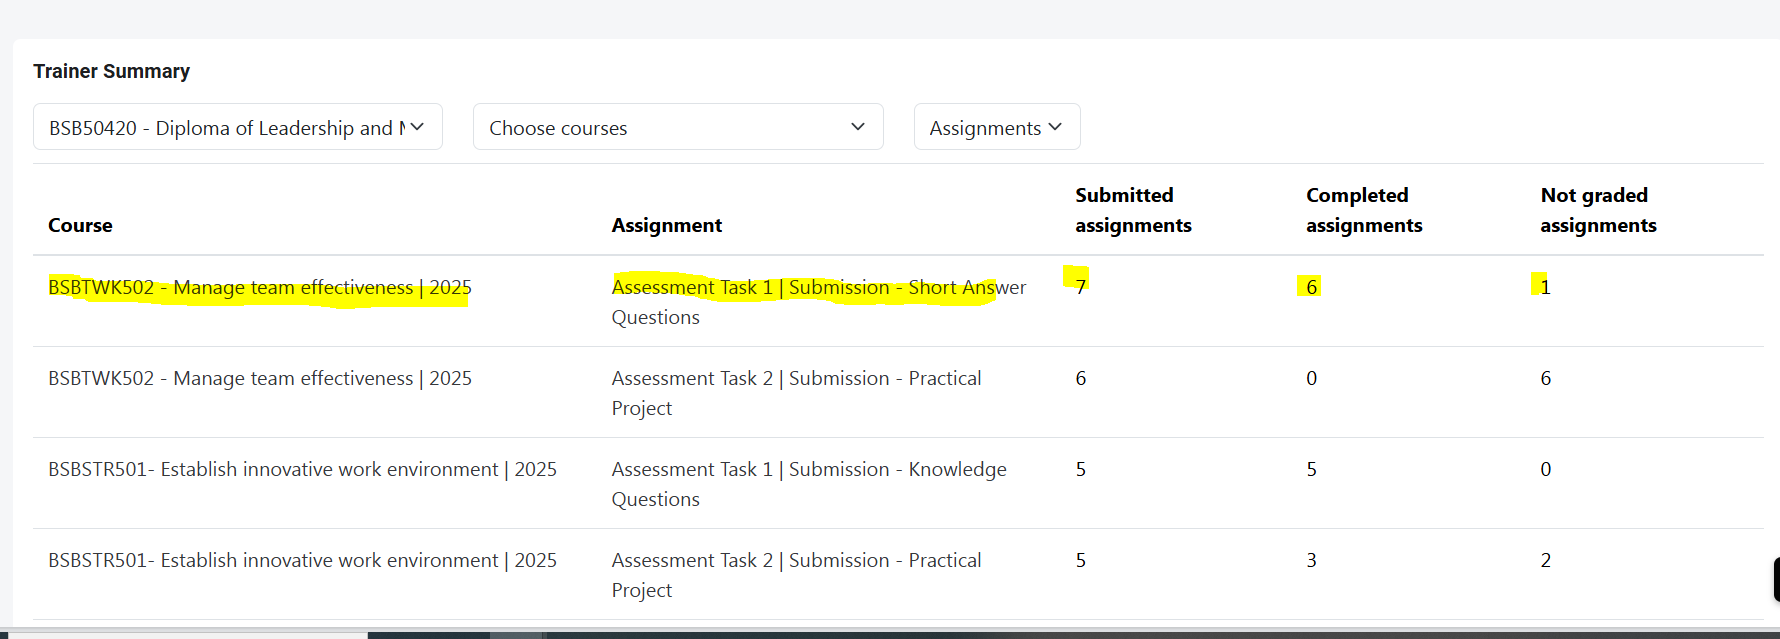
3. Please select the relevant unit/assessments from your Trainer Summary section.
In this section, you can review your group intake assessment submission details, including:
-
The number of students who have submitted the assessment for grading
-
The number of students who have completed the assessment
-
Any assessments that are yet to be graded.
2. Open the Assessment Activity
-
After you click on the assessment you wish to mark from the Trainer Summary section, the system will take you to the Assessment Submission Details page.

2. Select the relevant group intake from the dropdown box that you wish to mark
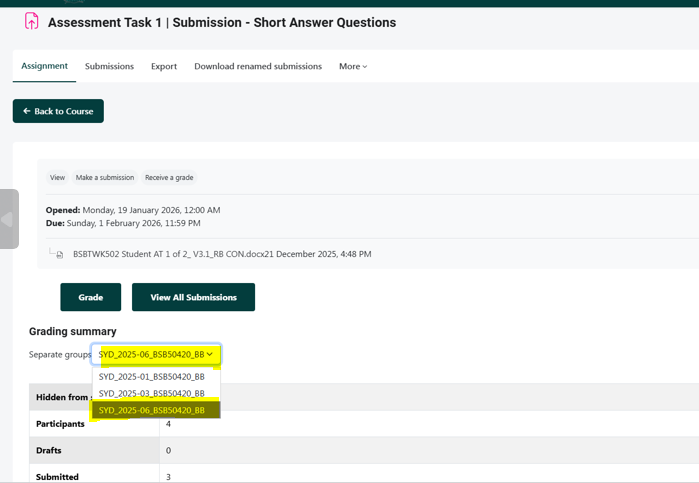
Then, click on the “View all submissions” button to see the list of students who have submitted their work.
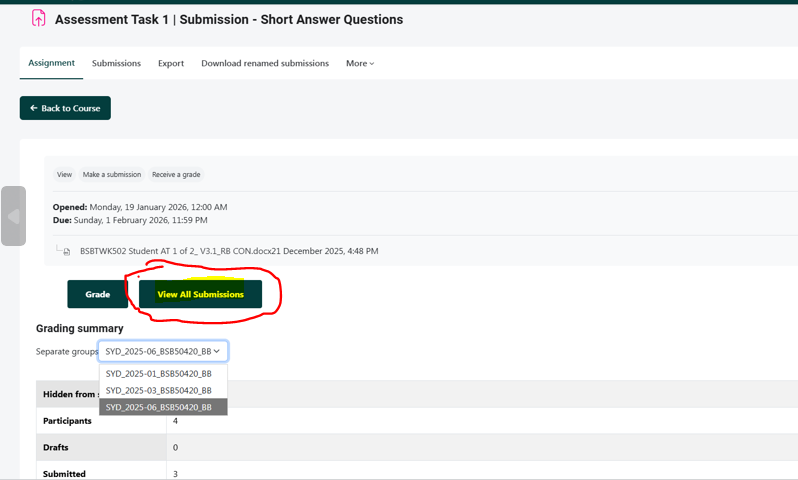
Note: Please ensure you have access to the relevant group intake before proceeding with marking. If you do not have access to the group, please contact the IT Helpdesk Team for assistance.
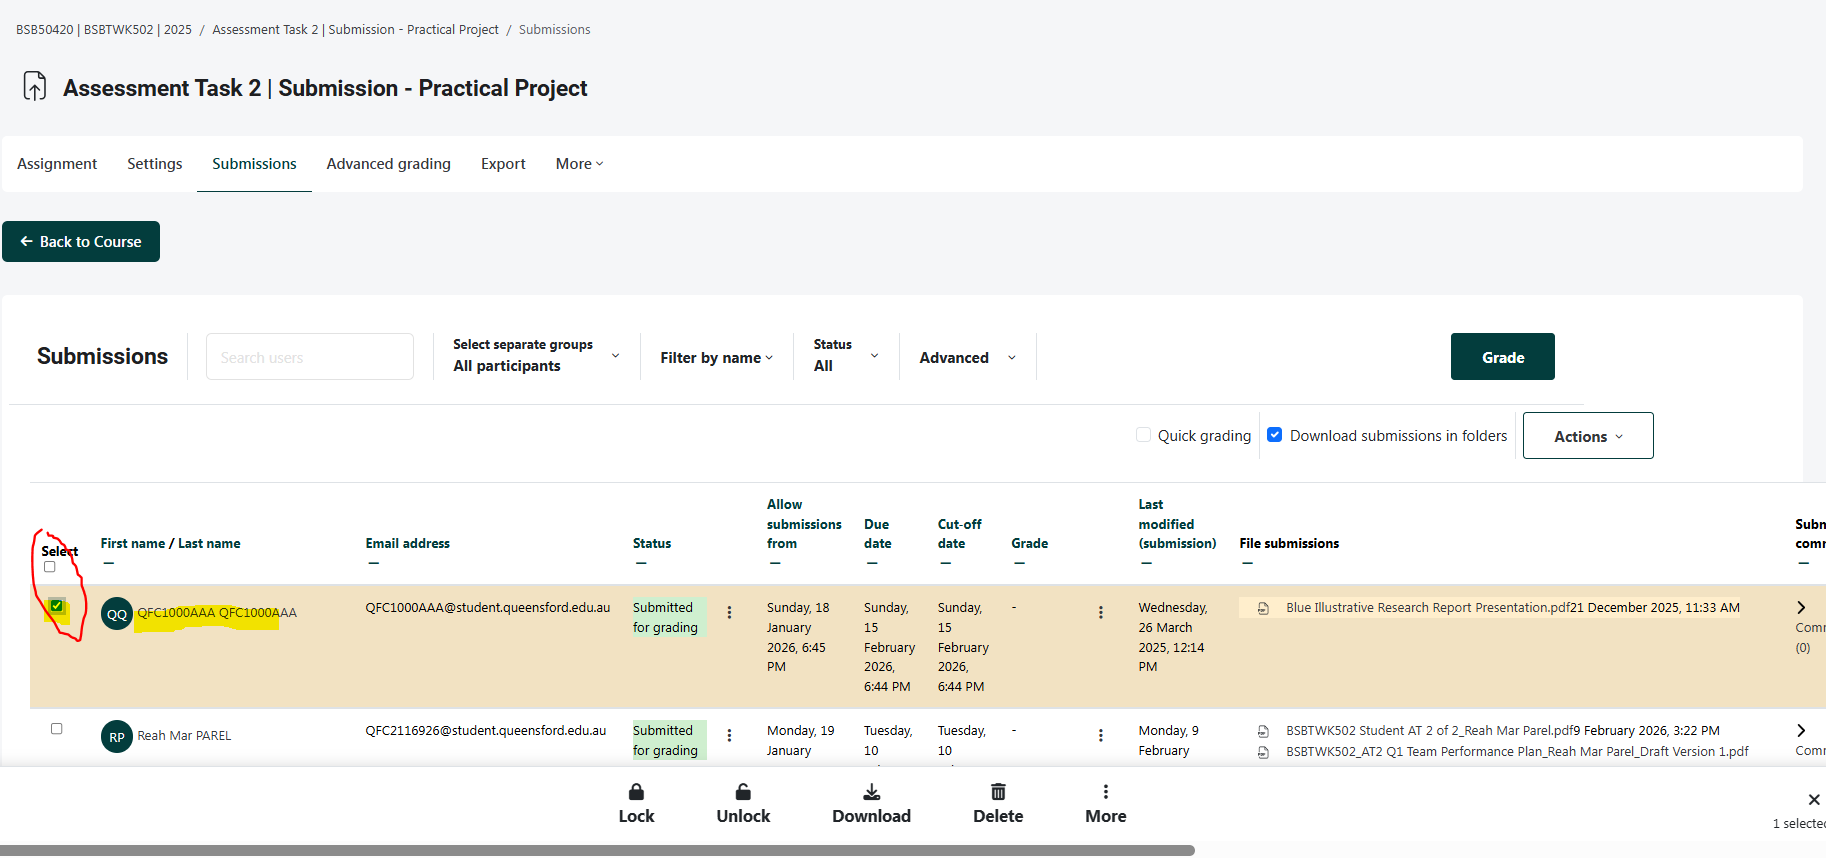
3. Review Student Submissions
You will be able to see:
-
Student name
-
Submission status
-
Date submitted
-
Grade status

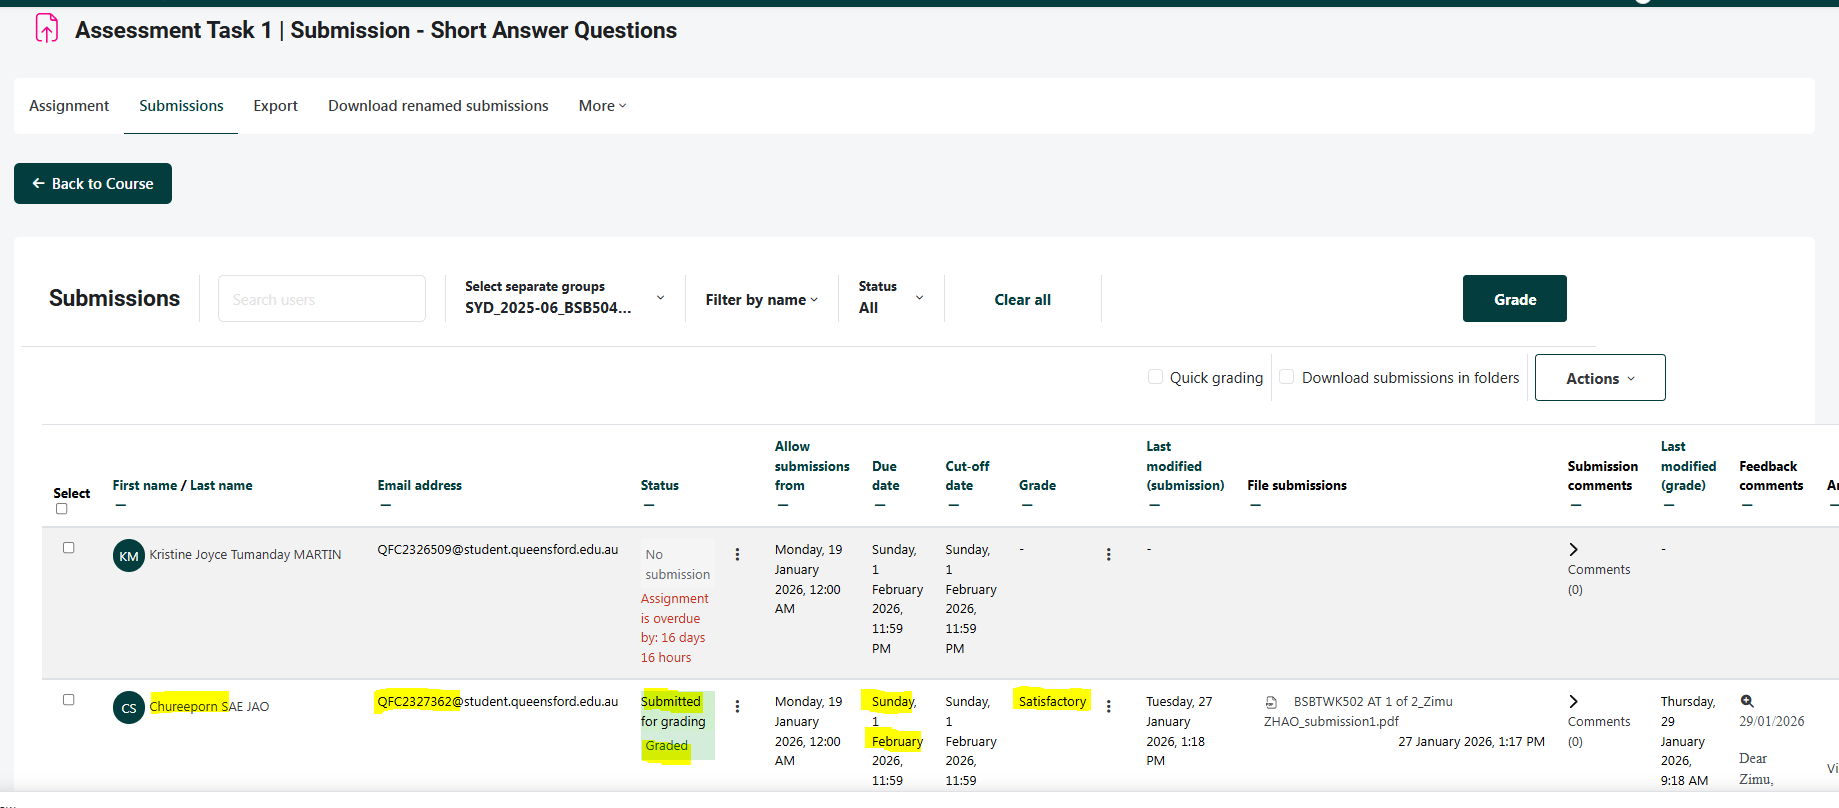
Select the student you wish to mark and click on the “Grade” button, as highlighted in the screenshot, to begin the marking process.
4. Mark the Assessment
- After you click on the “Grade” button, you will be able to view the selected student’s assessment along with all the available marking tools.
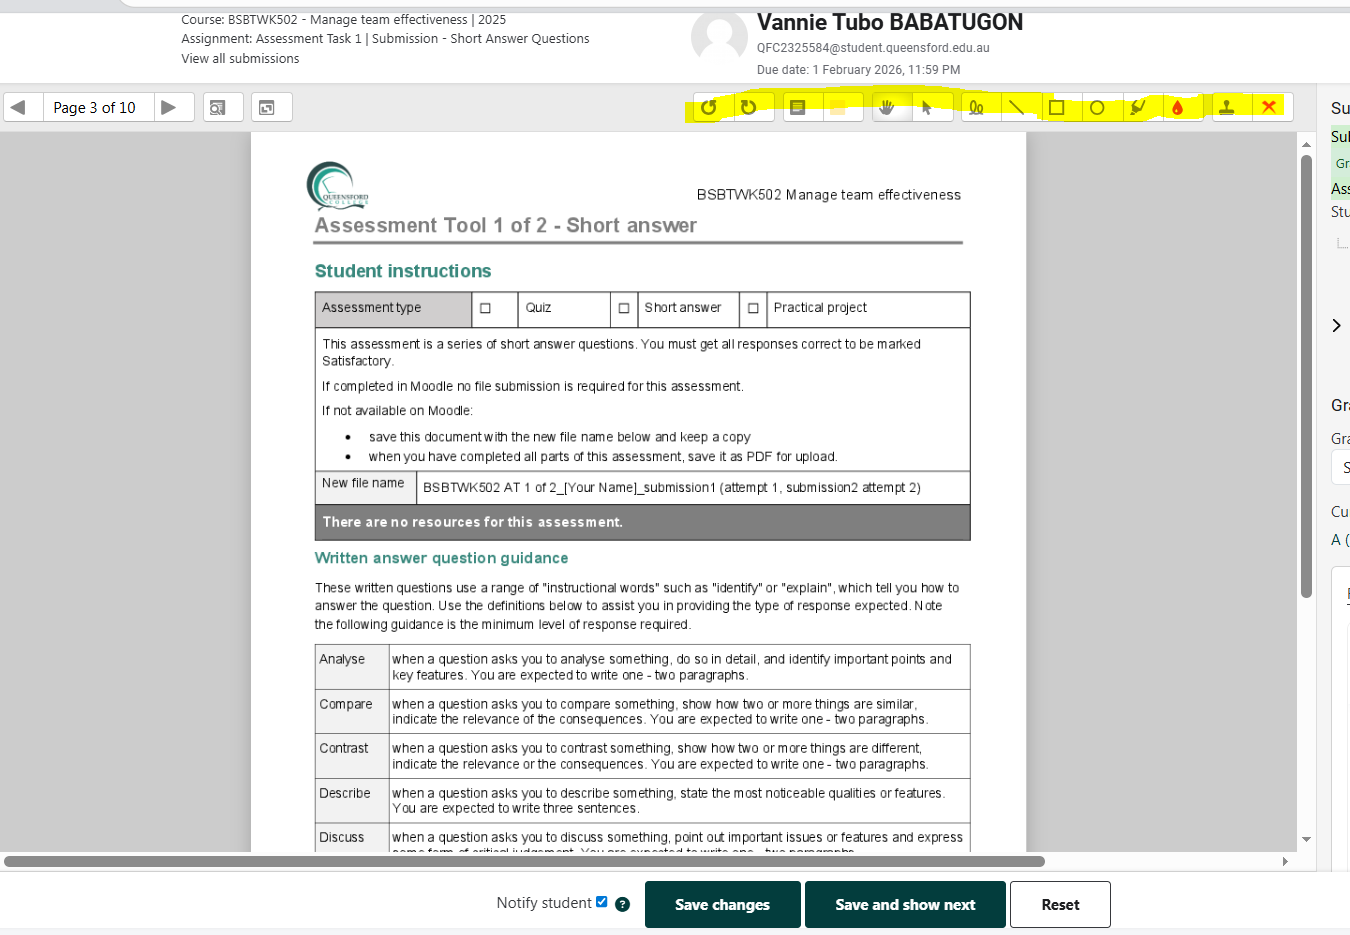
Note: Please use the Marking tool for the signatures as the stampped sigantures has been identified as non-complaint.
.png)
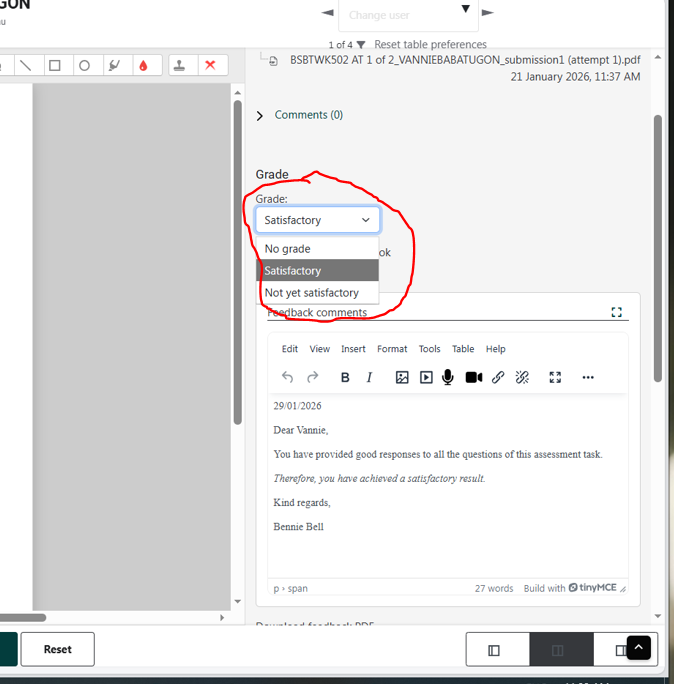
5. Enter Grades and Feedback
-
-
Provide Feedback comments in the text box.
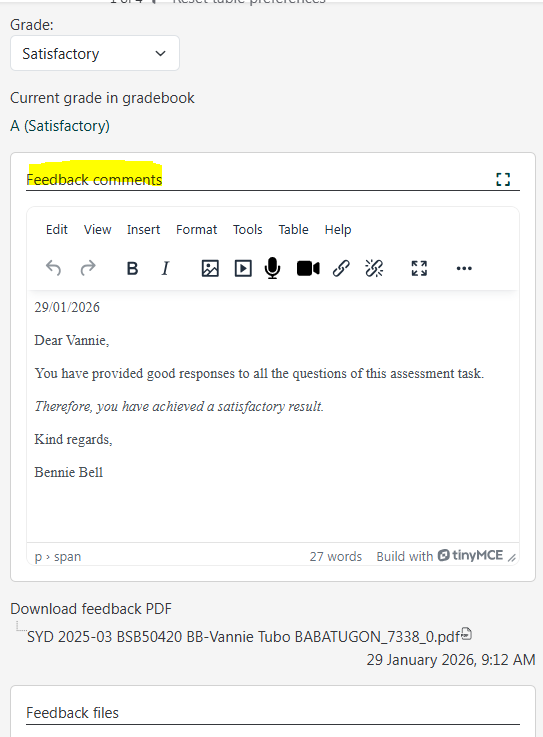
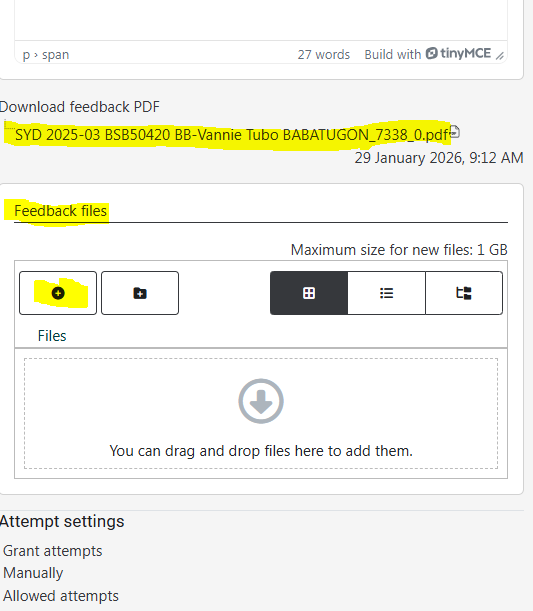
3. Upload a Feedback file if required (e.g., marked document with comments).
Ensure feedback is clear, constructive, and aligned with the assessment criteria.
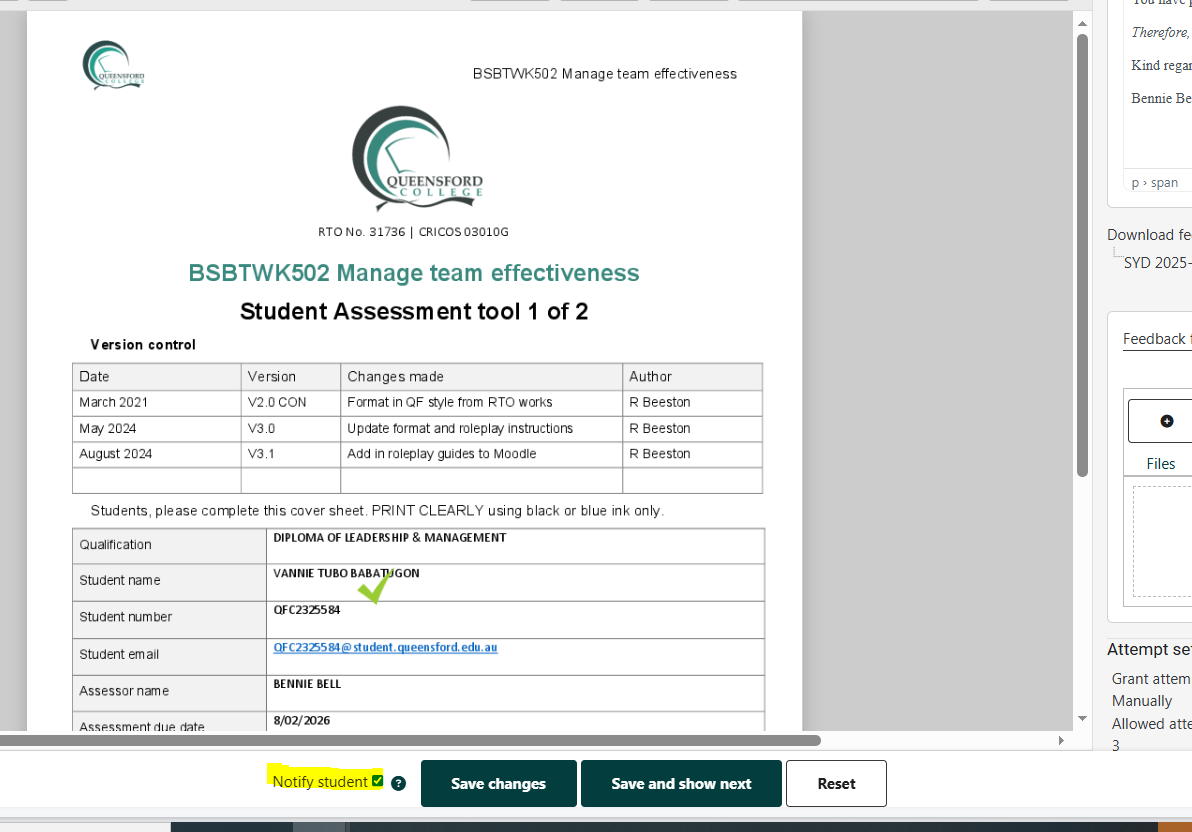
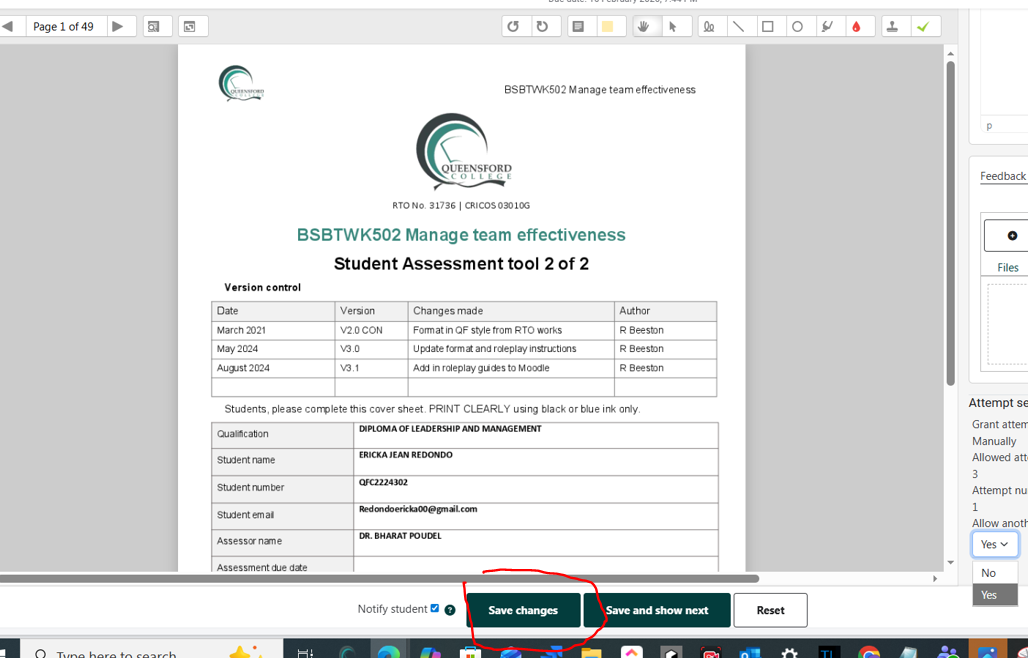
6. Save Changes
Before saving the changes, please ensure you tick the “Notify student” box, as highlighted in the screenshot below, so that the student receives a notification that their assessment has been marked.
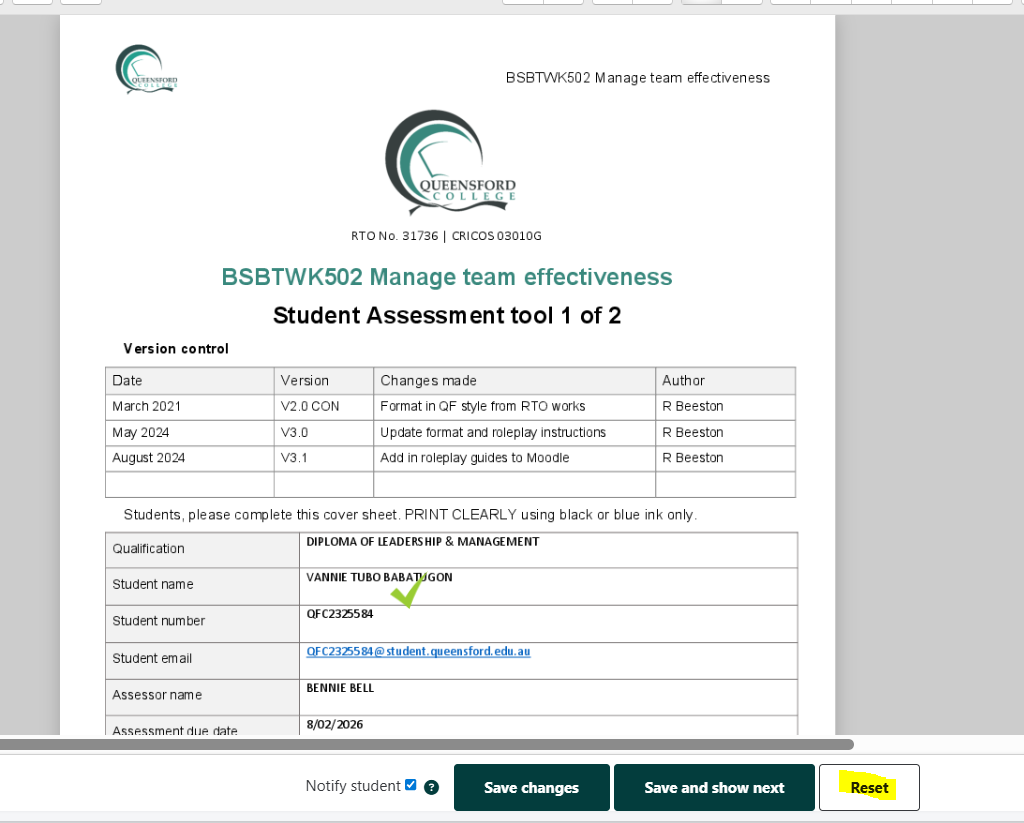
Additionally, if you want to remark the assessment and reset it to its default state, click on the “Reset” button.
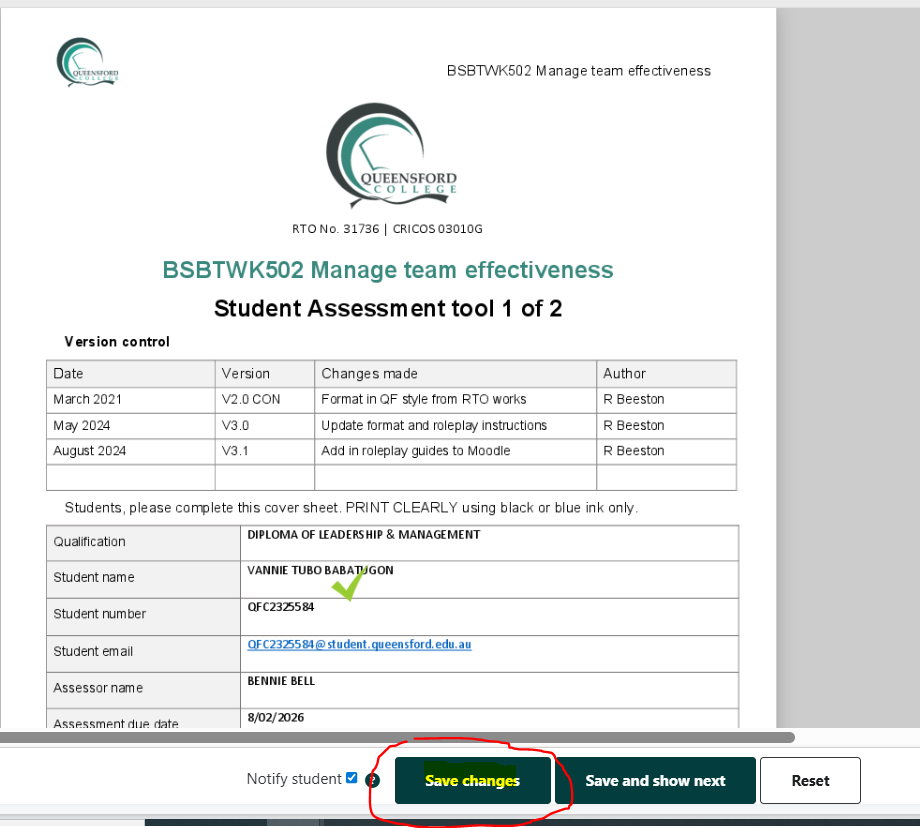
To save the marking, please click on “Save changes”.
-
Save changes (to move to the next student), or
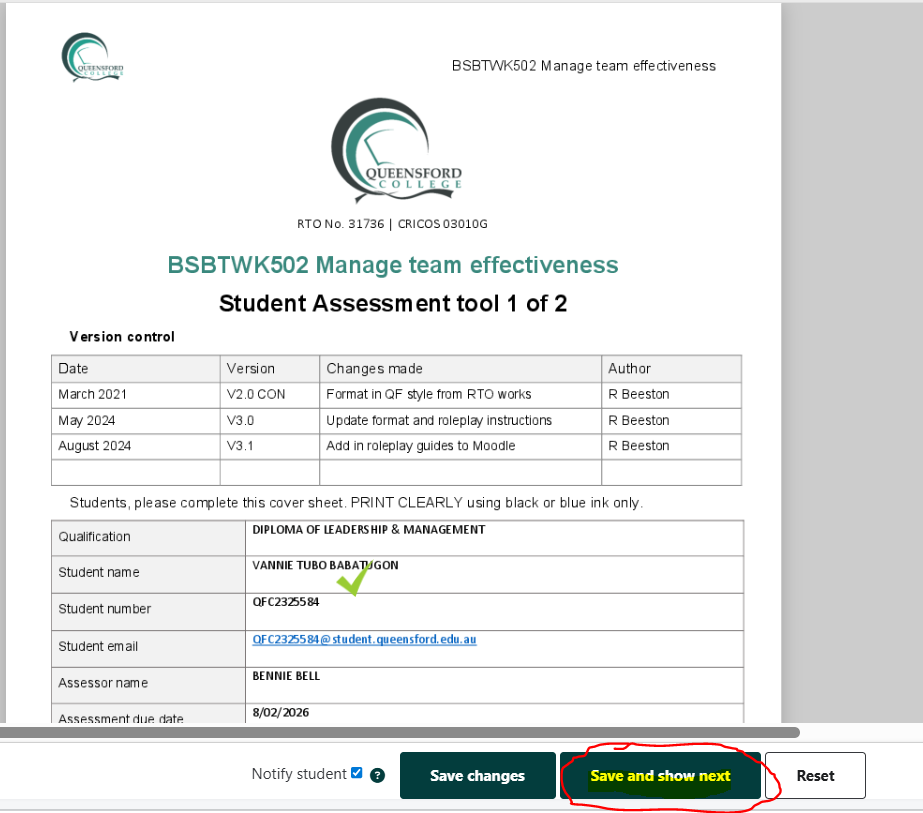
-
Save and show next (to continue grading efficiently).
7. Final Checks
Before completing the marking process:
-
Ensure all submissions are graded.
-
Confirm feedback is attached where required.
Providing Another Attempt to a Student's Assessment
1. Allowing Another Attempt
If a student has received a Not Yet Satisfactory (NYS) status and you want to provide another attempt:
-
Locate and click on the “Allow another attempt” dropdown box.
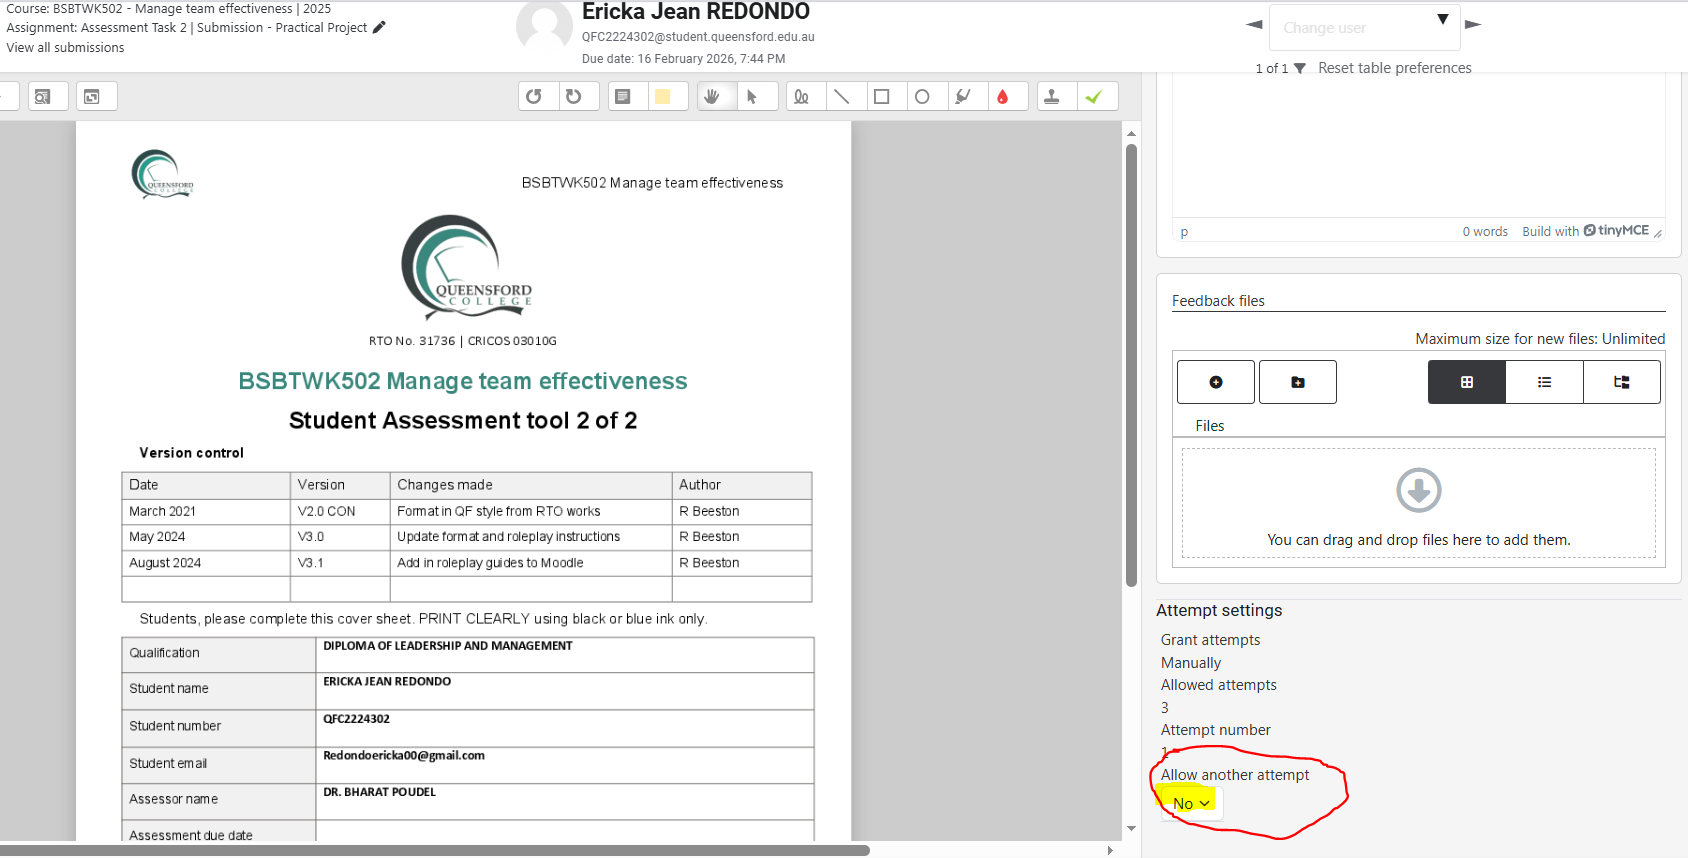
-
Select Yes to grant the student an additional attempt.
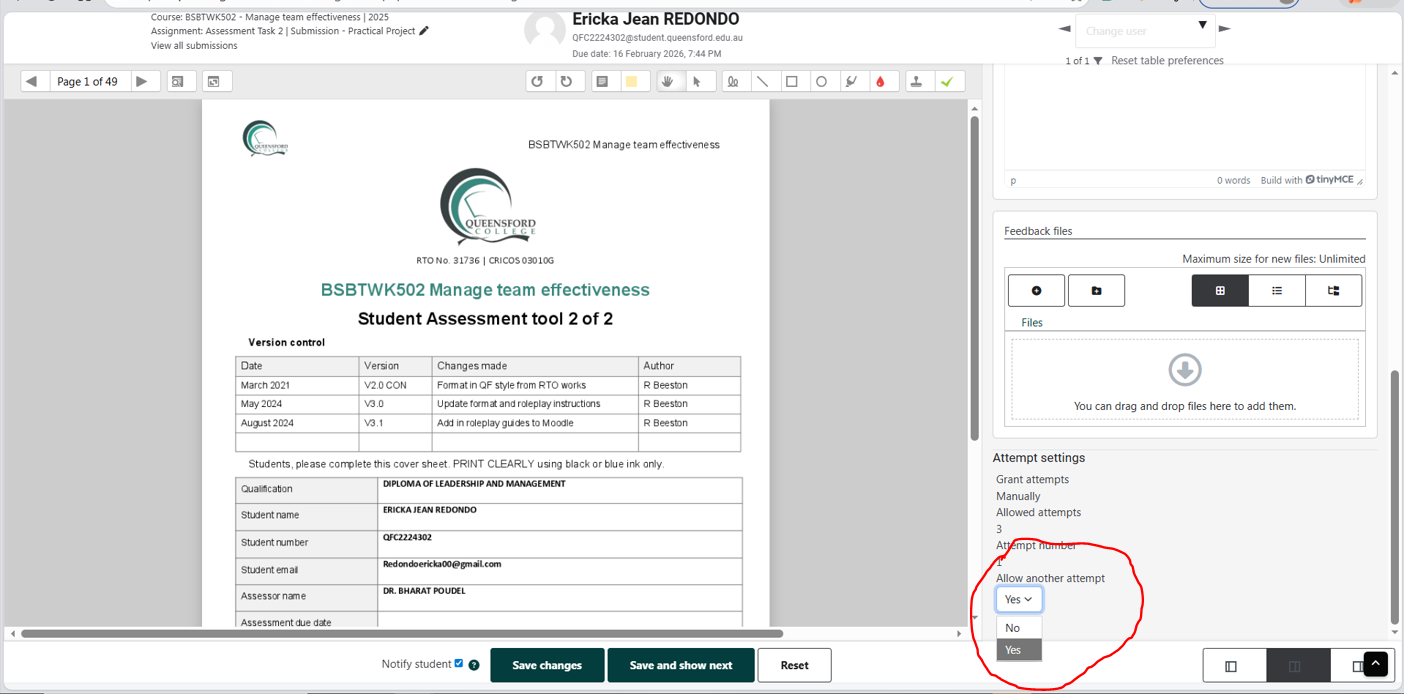
- Click on the Save Changes button.
Note:
-
If a student has already used three attempts and requires a fourth or more, please contact the IT Helpdesk Team for assistance.
2. Reverting a Student Submission to Draft Status
If a student has submitted the assessment but wants to make changes, the trainer can revert the submission to Draft so the student can resubmit.
Steps:
-
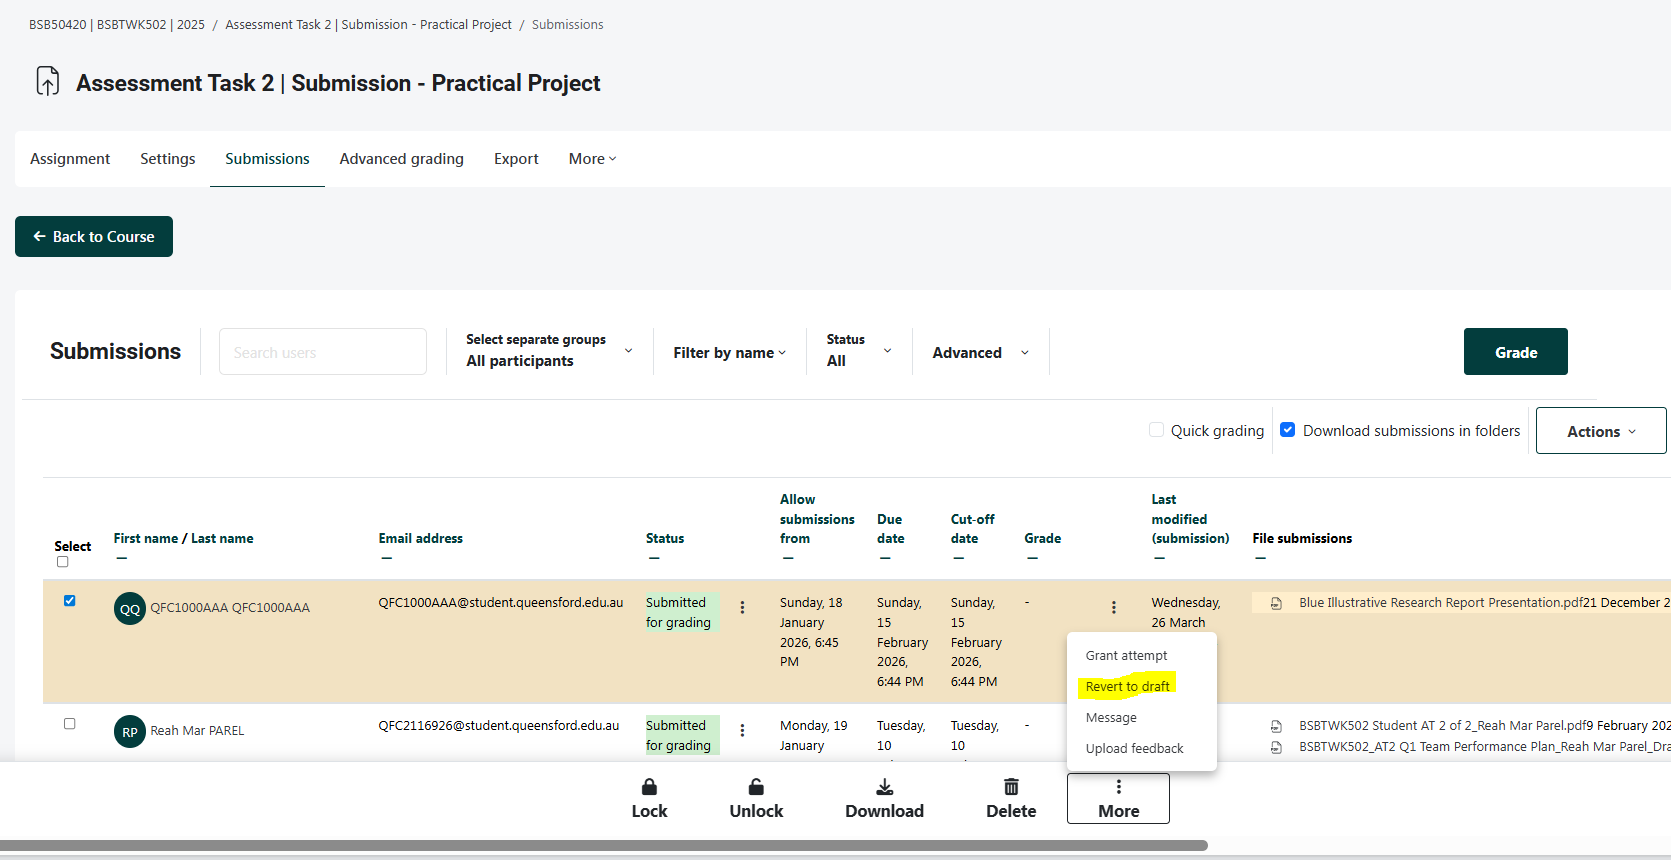
Select the student whose submission you want to revert.
2. Click on the More button (symbolized by three dots).
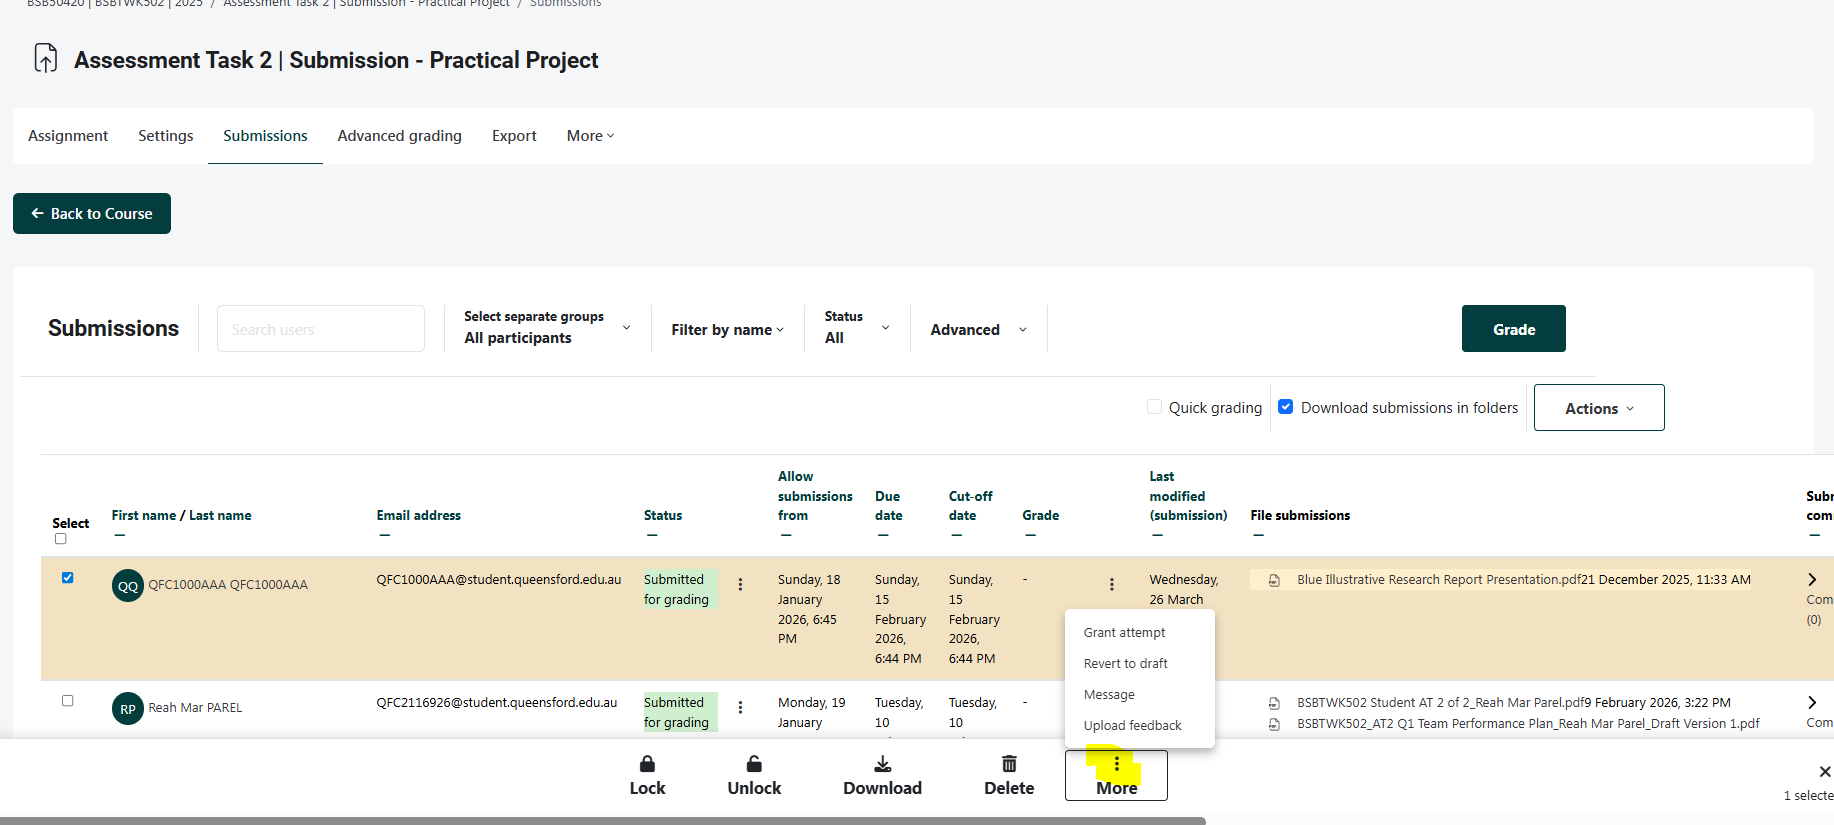
3. From the dropdown, select “Revert to draft status”.
4. A confirmation popup will appear—click Confirm.
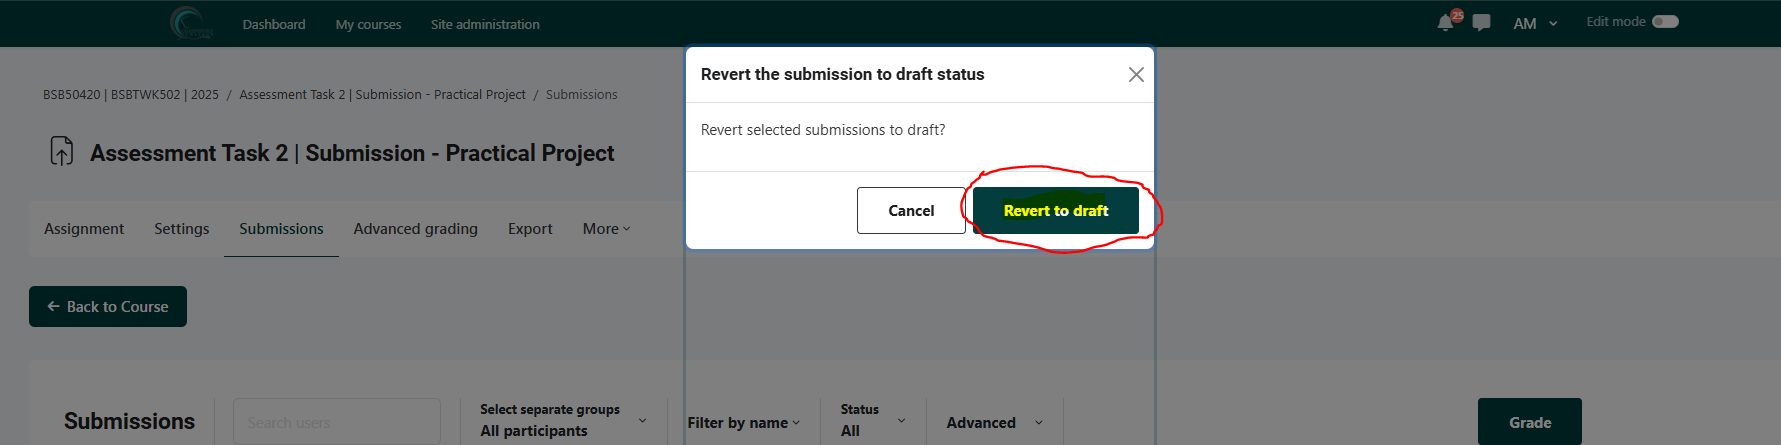
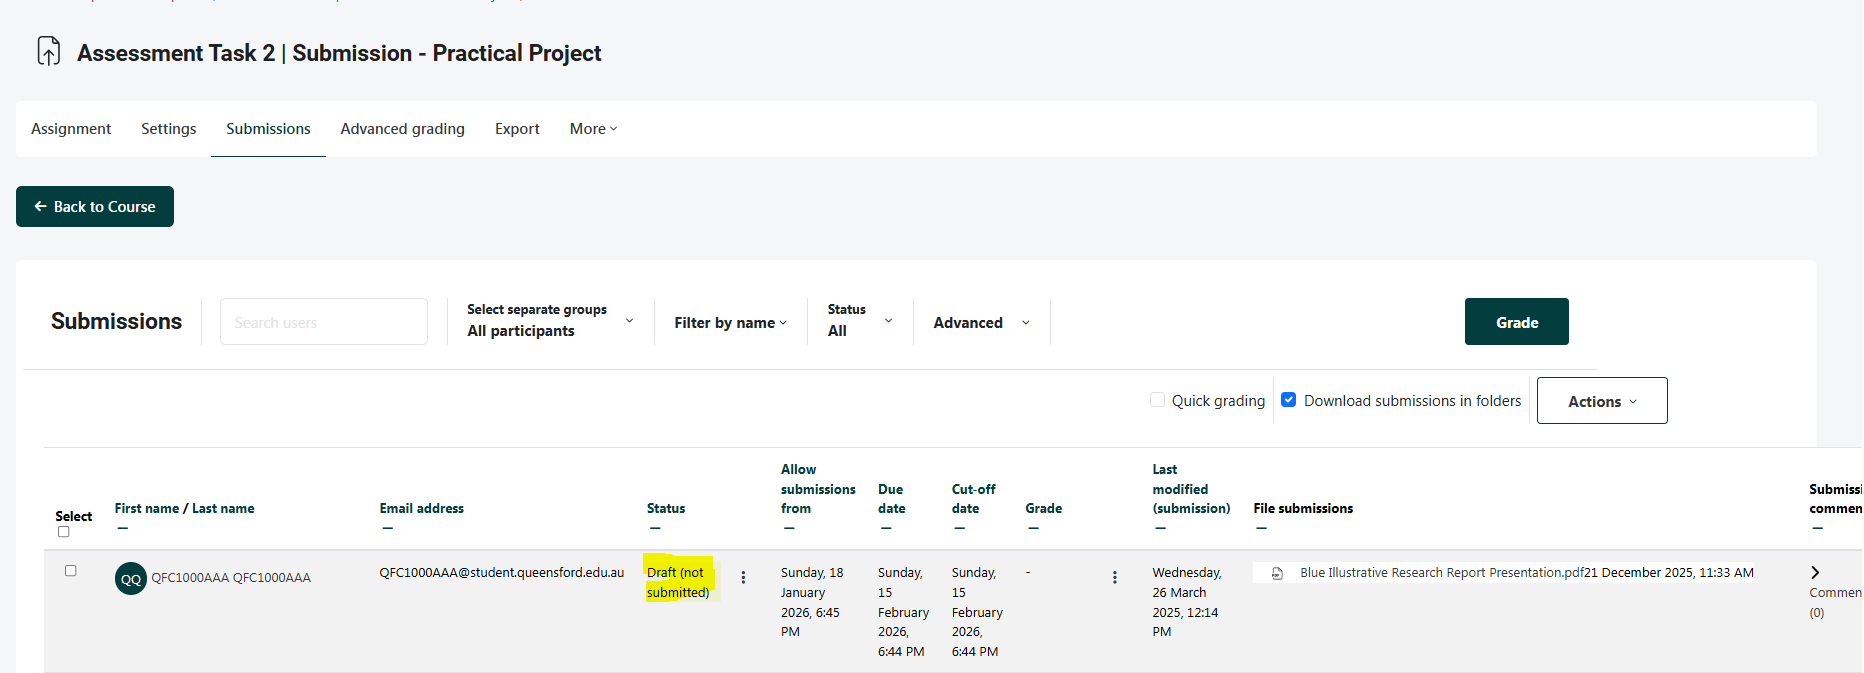
Once confirmed, the submission will be reverted to draft status, allowing the student to make changes and resubmit.
Best Practices for Trainers
-
Mark assessments within the agreed timeframe.
-
Provide constructive and actionable feedback.
-
Follow the assessment validation and moderation process (if applicable).
-
Maintain confidentiality of student records.