In Queensford Moodle, trainers use digital signatures to officially confirm that they have evaluated, reviewed, and approved a student’s assessment. This practice helps maintain academic integrity and meets compliance and audit standards.
Typically, digital signatures in Moodle are image-based and can be added to assessment feedback or included in annotated documents.
Stepwise Guidelines: Uploading a Digital Signature in Moodle (For Trainers)
Here’s a clear step-by-step guideline for trainers to upload a digital signature in Queensford Moodle:
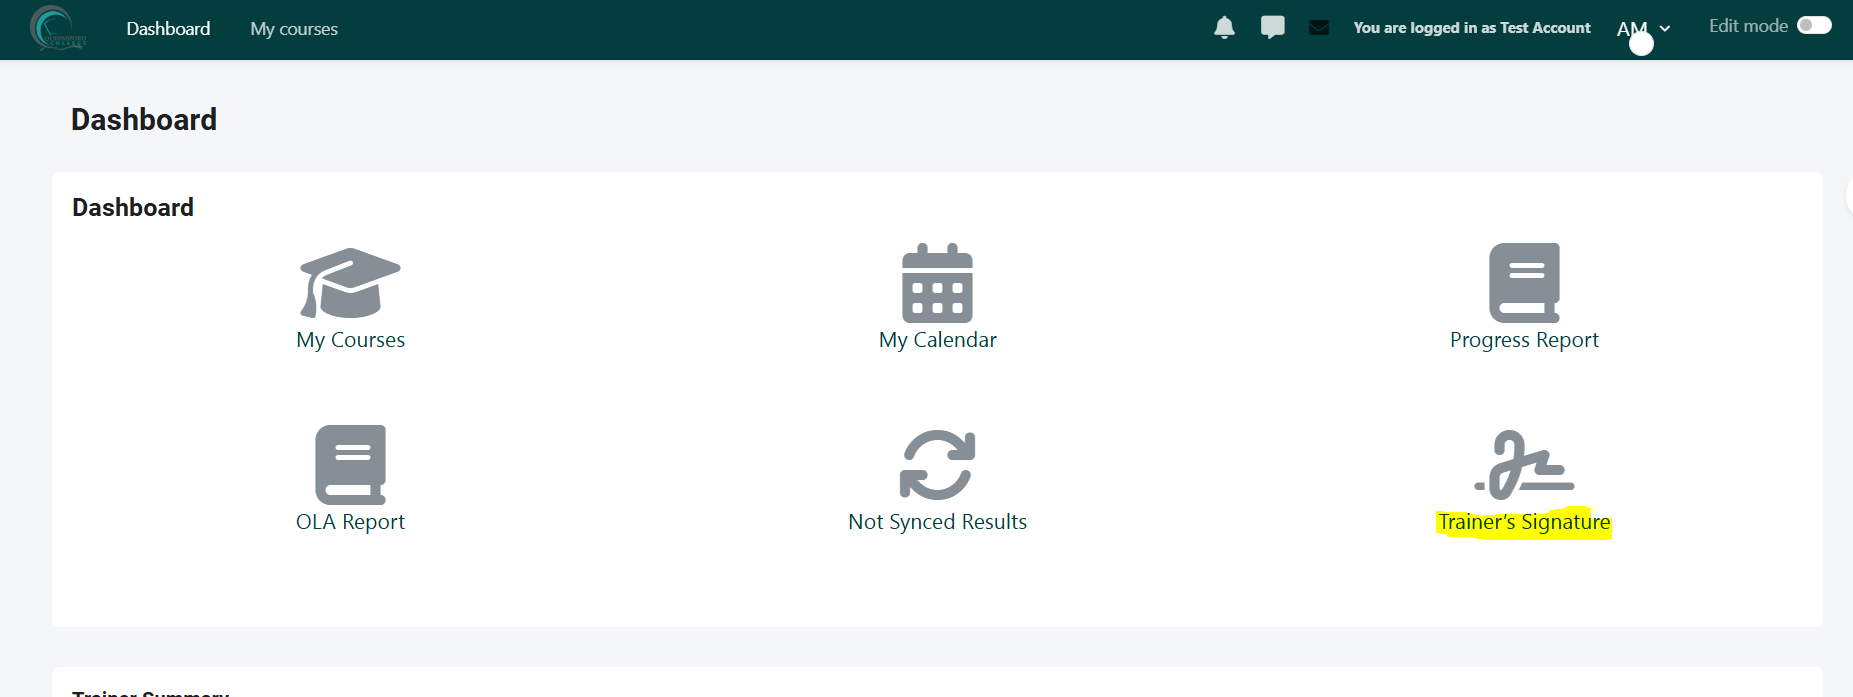
Step 1: Go to the Dashboard page and click on the Trainer Signature section, as highlighted in the screenshot below.

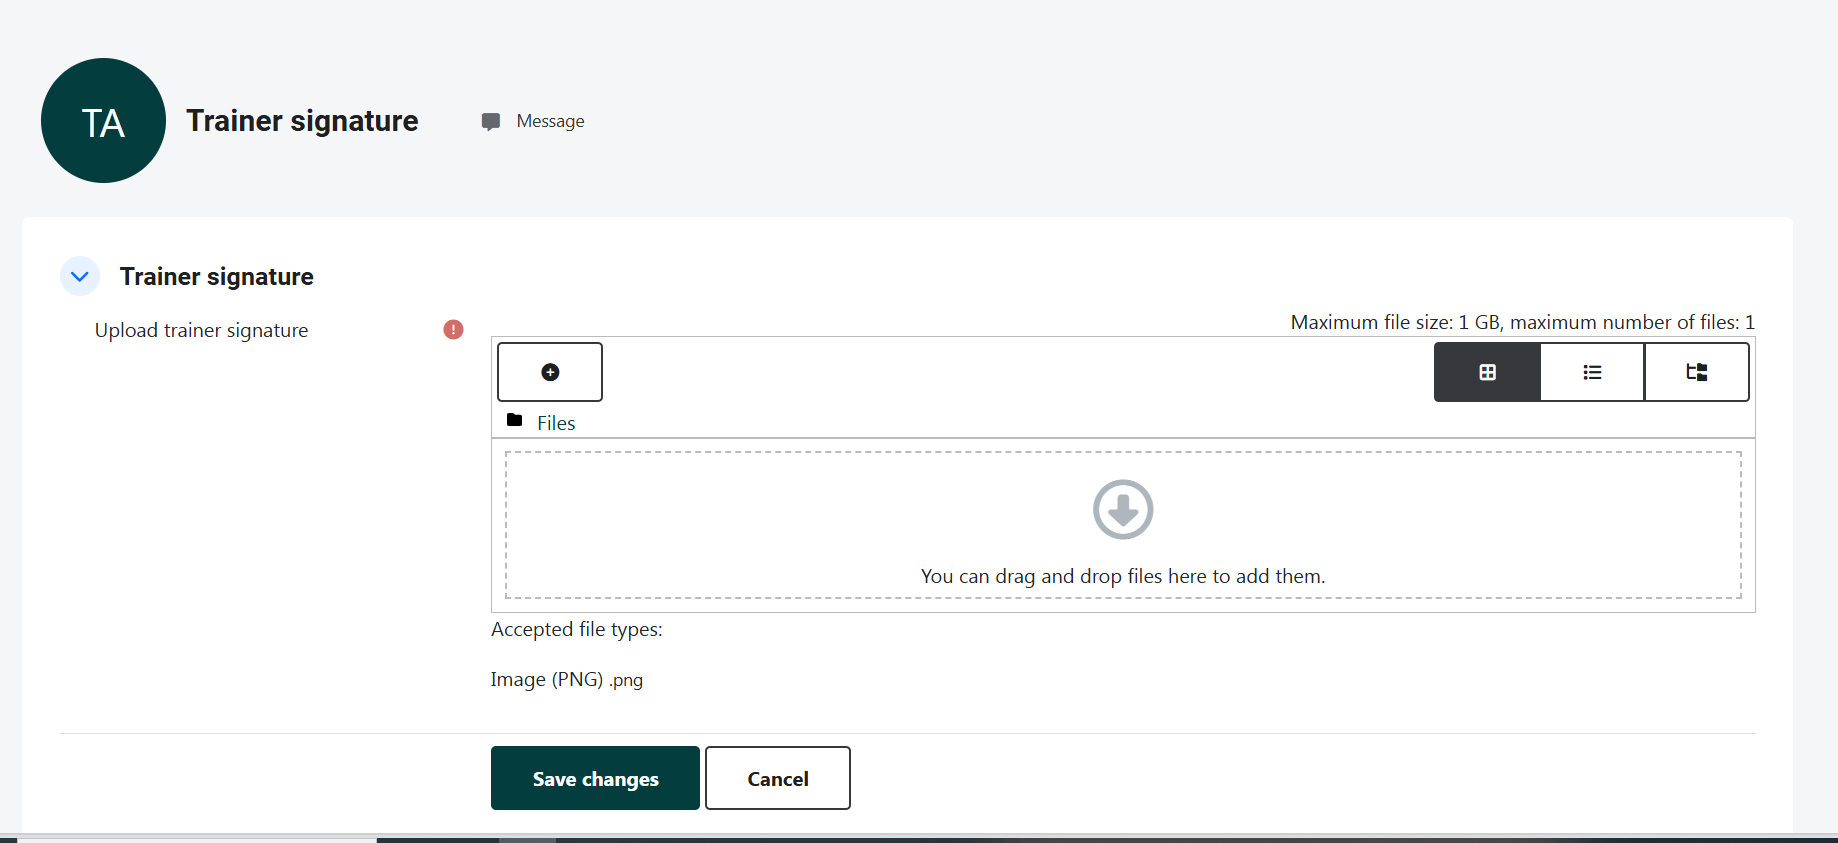
The Trainer Signature page will appear as shown below.
Note: Before uploading your signature to Moodle, please ensure that you have saved your signature in PNG format on your system.
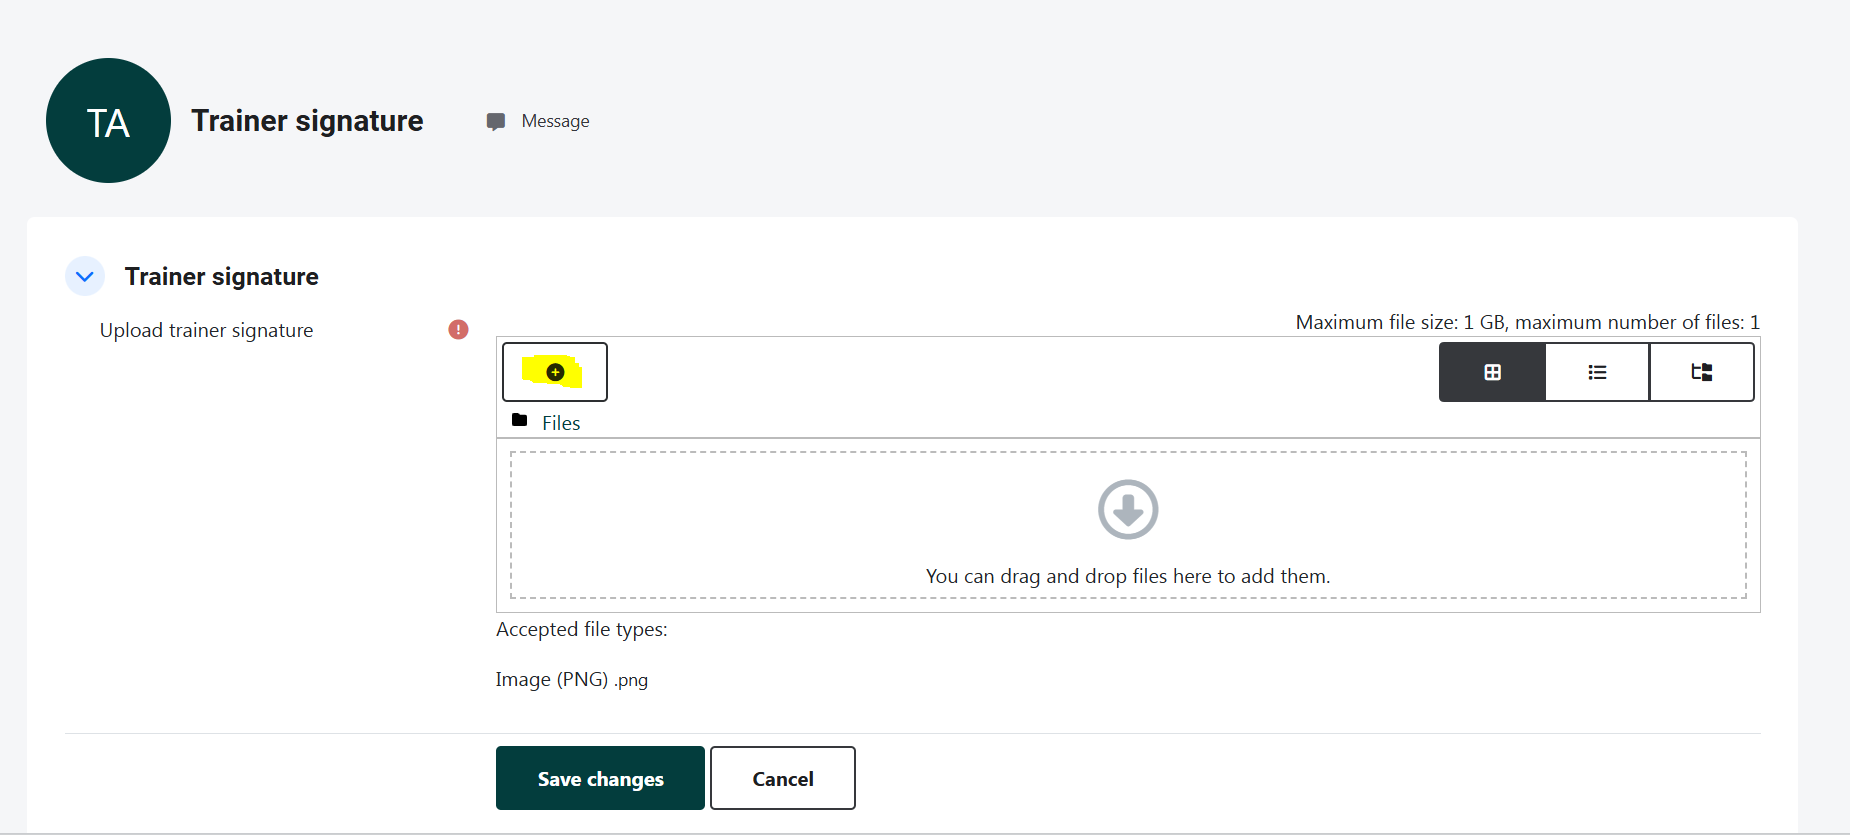
Step 2: Click on the plus (+) icon to upload your signature to Moodle, as highlighted in the screenshot below.

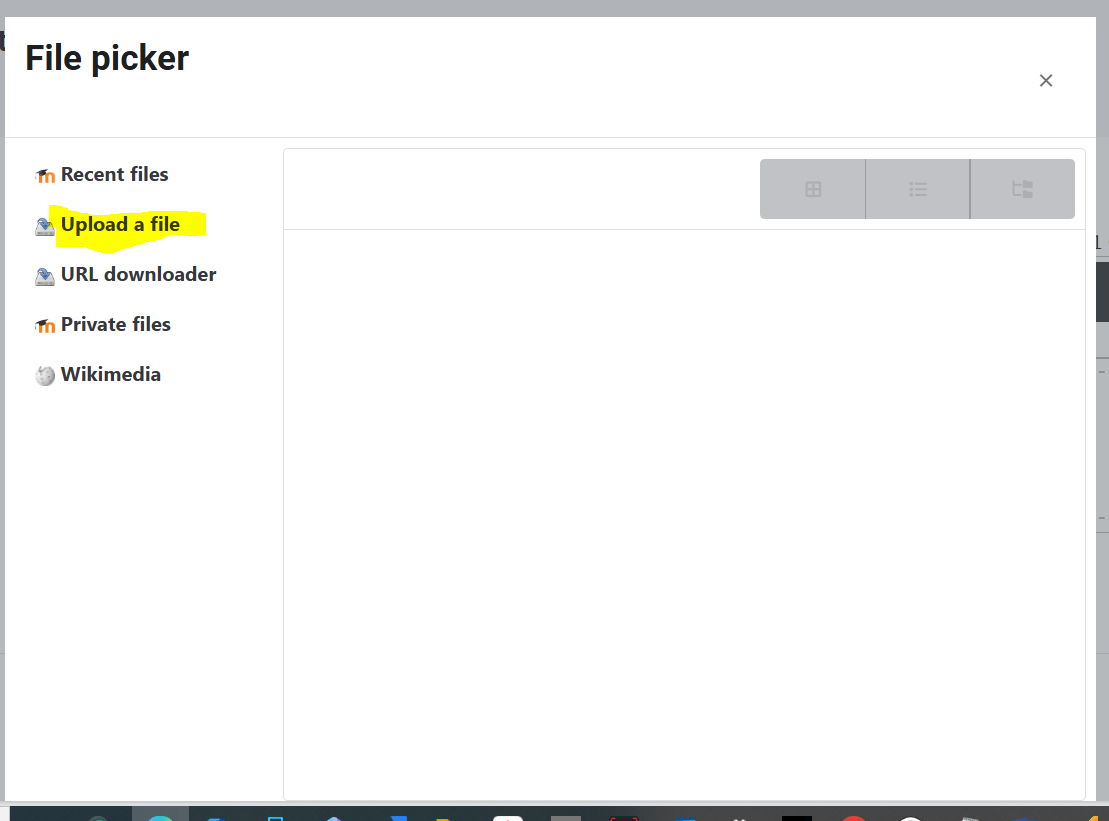
Step 3: After clicking the plus (+) icon, the File Picker pop-up will appear. Select “Upload a file”, as shown in the screenshot below:
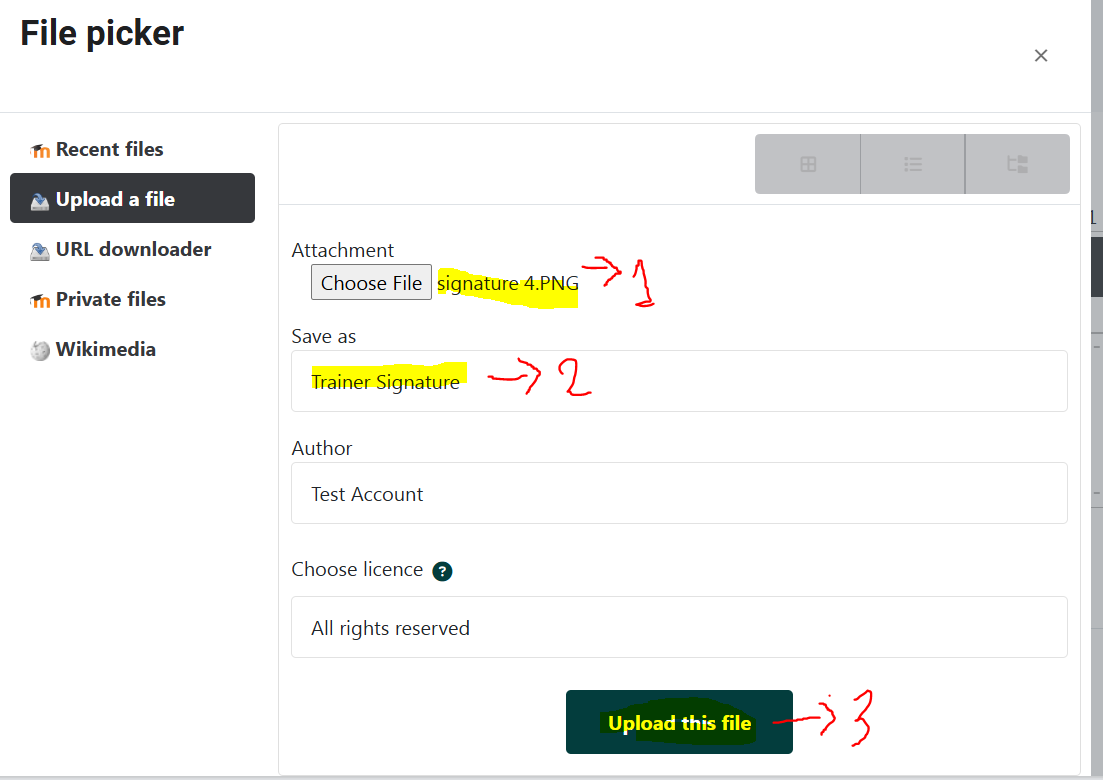
Step 4: Now, attach your signature in PNG format by clicking on the “Choose file” button and selecting the file from your system.
After selecting the file, you can rename your signature as desired, then click on the “Upload this file” button, as highlighted in the screenshot below.
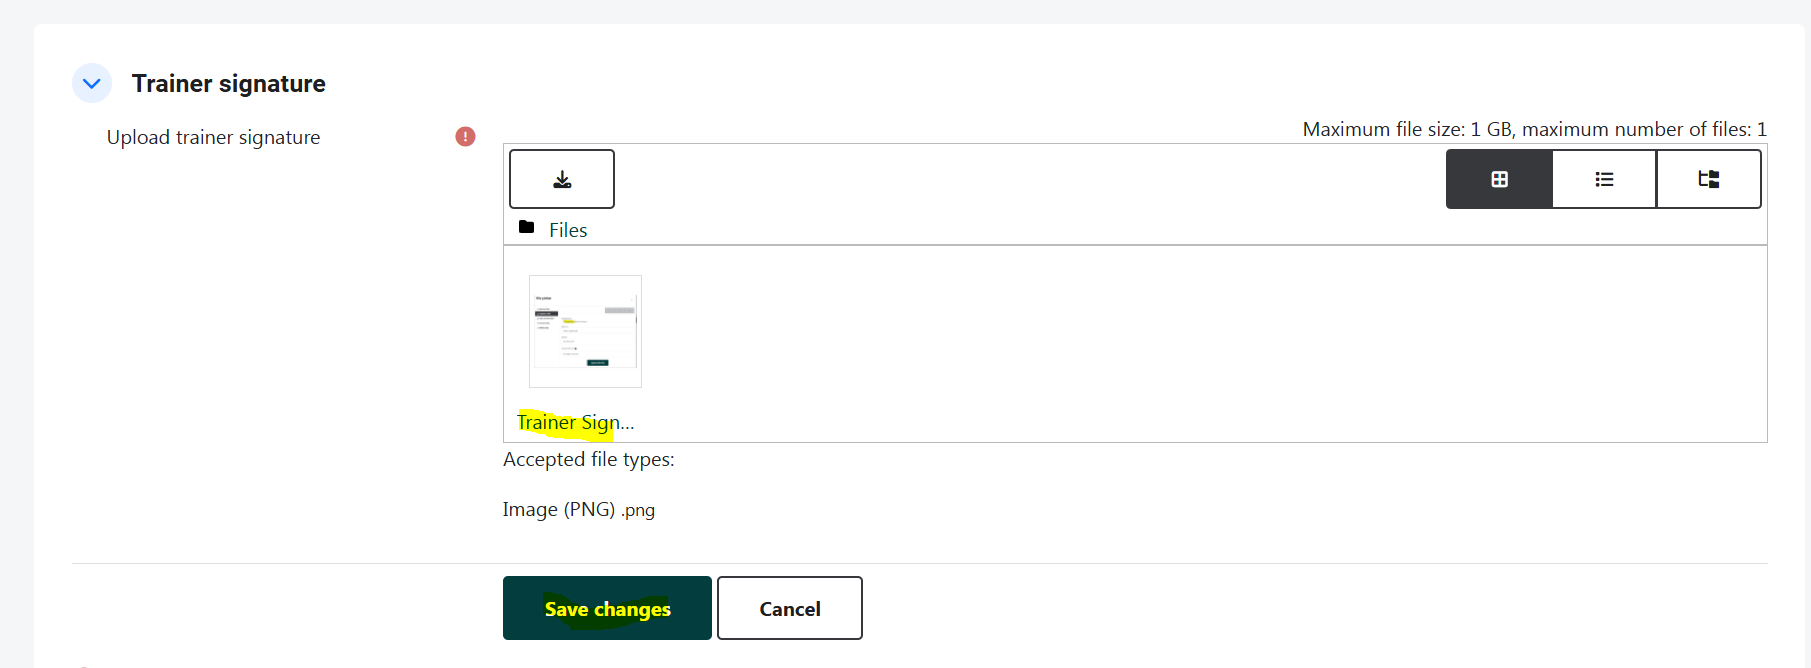
Now your signature has been uploaded successfully. Once uploaded, please make sure to click the “Save changes” button to save the changes in Moodle, as highlighted in the screenshot below.