1. Take a Screenshot of the Entire Screen
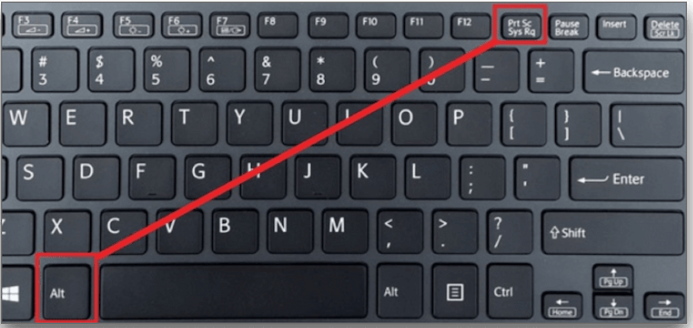
Using the Print Screen Key (PrtScn)
- Press
PrtScnon your keyboard.- This captures the entire screen and copies it to the clipboard.
- Paste the screenshot into an image editing tool (e.g., Microsoft Paint) or a document (e.g., Word or an email).
- Open the app where you want to paste the screenshot and press
Ctrl + Vto paste.
- Open the app where you want to paste the screenshot and press
Using Windows + PrtScn
-
Press
Windows Key + PrtScnsimultaneously.- This captures the entire screen and saves the screenshot directly as a file.

-
Find the screenshot in the "Pictures" folder, inside the "Screenshots" subfolder. The file will be automatically named with a timestamp (e.g., "Screenshot (1).png").
2. Capture a Specific Window
Using Alt + PrtScn
-
Press
Alt + PrtScnto capture only the active window. -
Paste the screenshot in an image editor (e.g., Microsoft Paint) or document by pressing
Ctrl + V.
Using Windows + Shift + S (Snipping Tool)
-
Press
Windows + Shift + S.- This will darken the screen and give you a crosshair cursor.

-
Select the area you want to capture by clicking and dragging your mouse over the region.
- Once the area is selected, the screenshot is copied to the clipboard.
-
Paste the screenshot in an app (e.g., Paint, Word) using
Ctrl + V.
3. Capture a Specific Area of the Screen
Using the Snipping Tool (or Snip & Sketch)
Snipping Tool
-
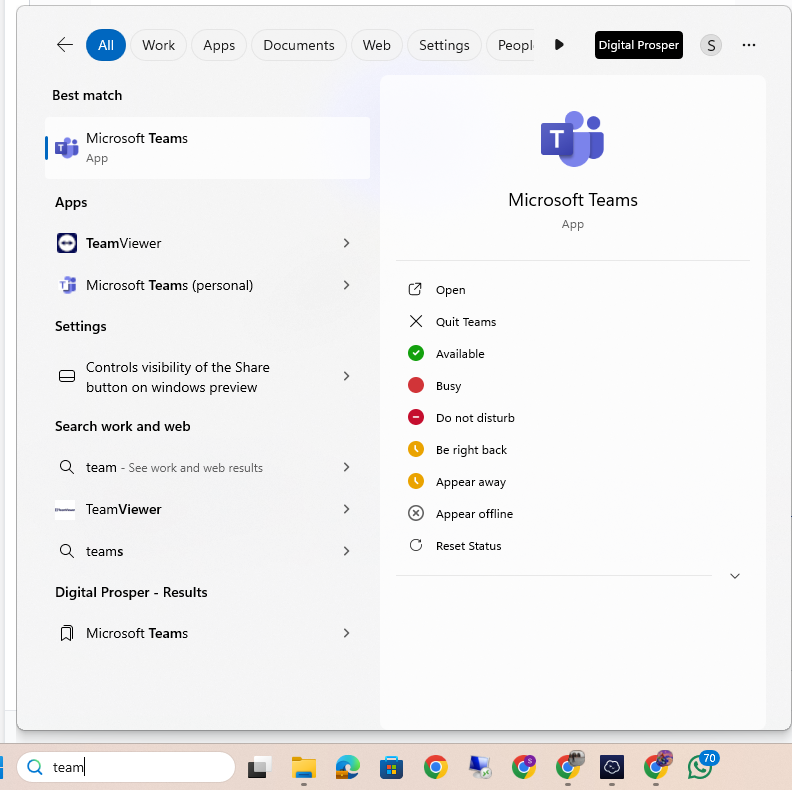
Open the Snipping Tool: Search for “Snipping Tool” in the Start menu and open it.
-
Choose the Snip Type: Click the "New" button and select the type of snip you want:
- Freeform Snip: Draw your desired shape.
- Rectangular Snip: Click and drag to select a rectangular area.
- Window Snip: Capture a specific window.
- Full-screen Snip: Capture the entire screen.
-
Capture the Screenshot: Once you've selected the area or window, the screenshot will appear in the Snipping Tool window.
-
Save the Screenshot: Click the disk icon to save it as an image file.
Snip & Sketch (Windows 10 and later)
-
Press
Windows + Shift + Sto initiate a screenshot capture. -
Select the area you want to capture (rectangular, freeform, or full screen).
-
Open Snip & Sketch: After the screenshot is taken, you will see a notification in the lower-right corner. Click it to open Snip & Sketch, where you can edit and save the screenshot.
4. Capture a Scrolling Screenshot
While Windows does not have a built-in scrolling screenshot tool, third-party applications can help capture long web pages or documents.
Third-Party Apps
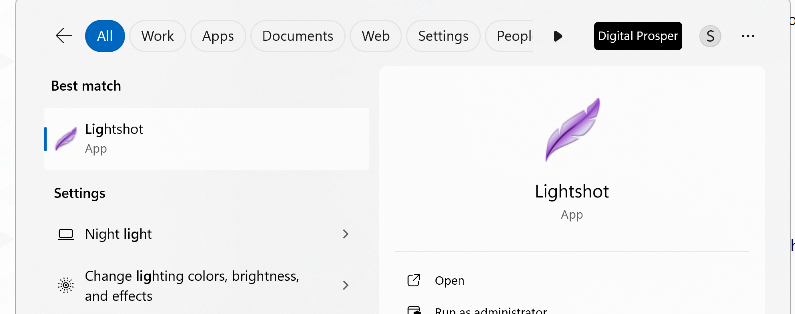
- LightShot: A powerful, open-source tool that allows for scrolling captures.

These tools usually offer more options, such as editing the screenshot or uploading it directly to cloud services.