Step 1: OneDrive Login
- Navigate to microsoft.com.
- Enter your credentials to log in with your Microsoft account.
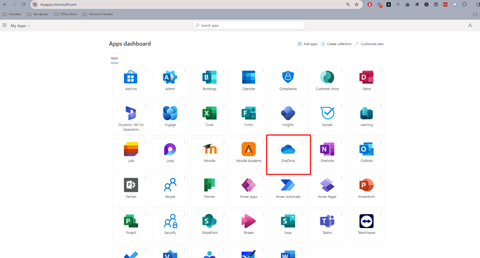
Step 2: Accessing OneDrive
- Once logged in, locate and click on the "OneDrive" app.
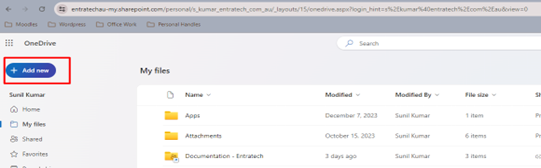
Step 3: Creating a Folder
- Inside OneDrive, click on "New" and select "Folder" from the dropdown menu.
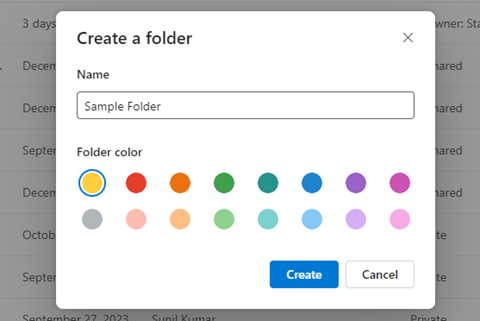
- Name the folder accordingly and press "Enter" to create it.
Step 4: Uploading Files and Folders
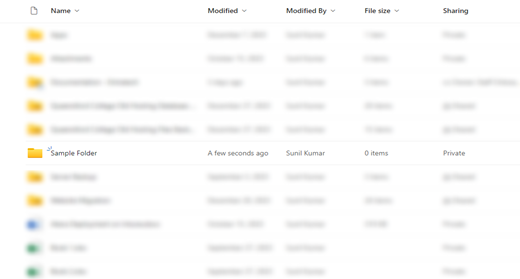
- Open the newly created folder by clicking on it.
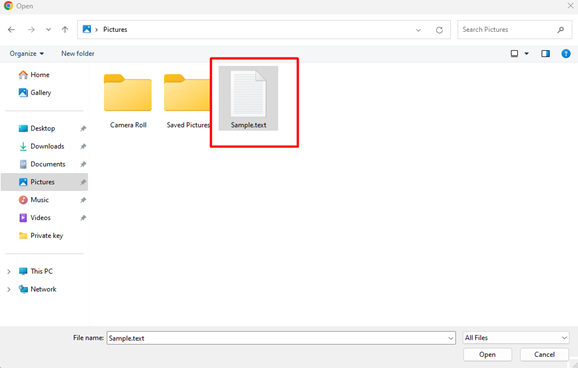
- To upload files, click on "Upload" and choose "Files" or "Folder" based on your requirement.
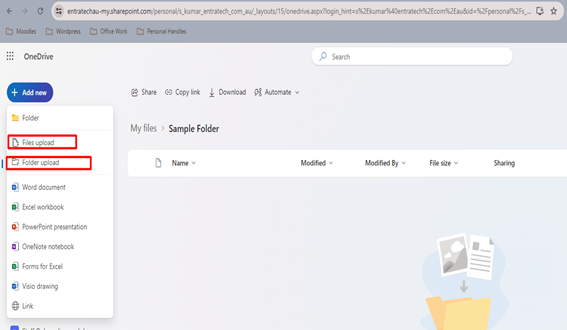
- Upload Files and Folder from your computer.
- Once files are uploaded you can share them with your colleagues.
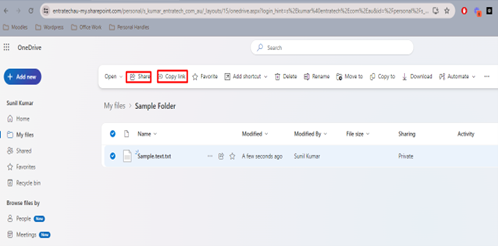
- Click on files or folder and navigate to navbar and see Share & Copy Link
- You can share files to them by searching their names
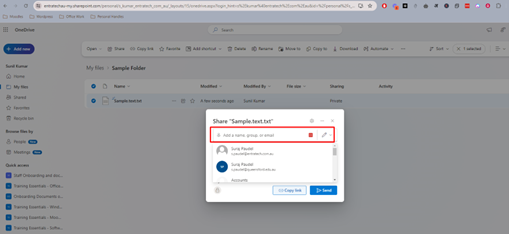
Step 5: Providing Access to Users
- Right-click on the folder you want to share.
- Choose "Share" from the dropdown menu.
- Enter the email addresses of the users you want to share with.
- Set the appropriate permissions (View, Edit, or Co-Owner).
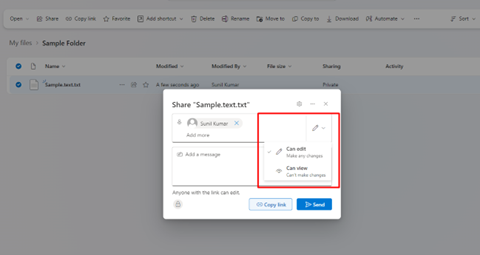
- Add a message if needed.
- Click "Send" to share the folder.
By following these steps, you can set up OneDrive, manage folders and files, and provide access to users efficiently.