Overview
This guide explains how to add a personal signature to assessment documents before submitting them in Moodle.
Preparing Your Signature
- Write your signature on a blank sheet of paper (preferably white paper for better contrast)
- Take a clear photo or scan your signature
- Save the image file to your device
Adding Your Signature to a Document
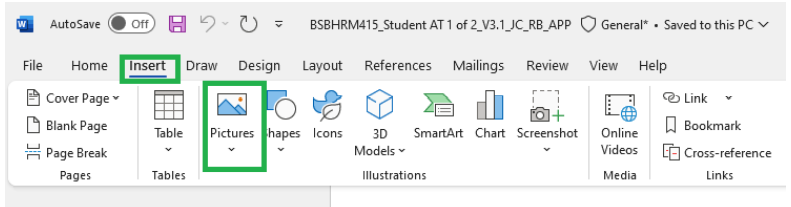
Step 1: Open Document and Access Insert Options
- Open your Word document containing the assessment
- Click on the "Insert" tab in the top ribbon menu
- Locate and click the "Picture" option in the toolbar
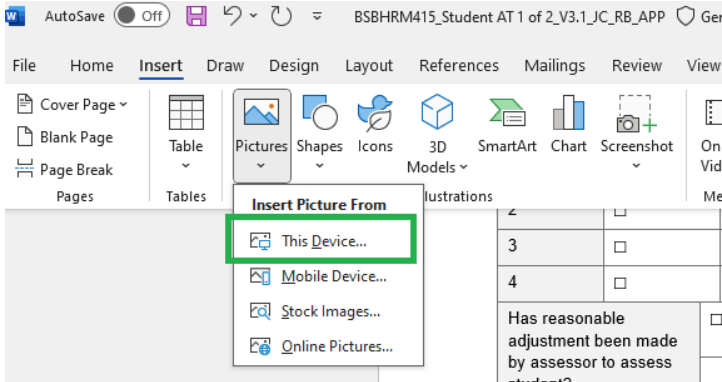
Step 2: Insert Your Signature Image
- Browse to the location where you saved your signature image
- Select the image file
- Click "Insert" to add it to your document

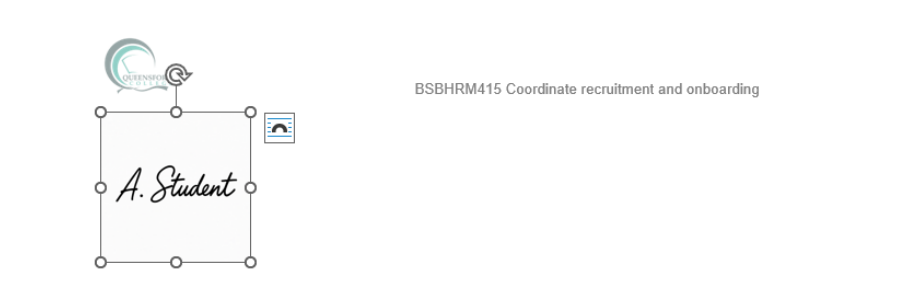
Step 3: Adjust the Signature
- Click on the inserted signature image to select it
- Use the corner handles to resize the signature appropriately
- Position the signature in the designated signature area of your document
Tips
- Ensure your signature is clear and legible
- Save your document after adding the signature
- Check that the signature appears correctly before submitting to Moodle